
Hardscaping
Fire Features in Kent & Greater Seattle
Quick answer
Fire features are built-in wood pits, gas fire bowls, and fire tables set into masonry. Around Puget Sound, a wood-burning block pit typically installs for $1,800 to $4,500 and a permitted natural gas feature for $5,000 to $14,000. Blue Landscaping designs and builds the masonry; a licensed gas fitter makes the final connection.
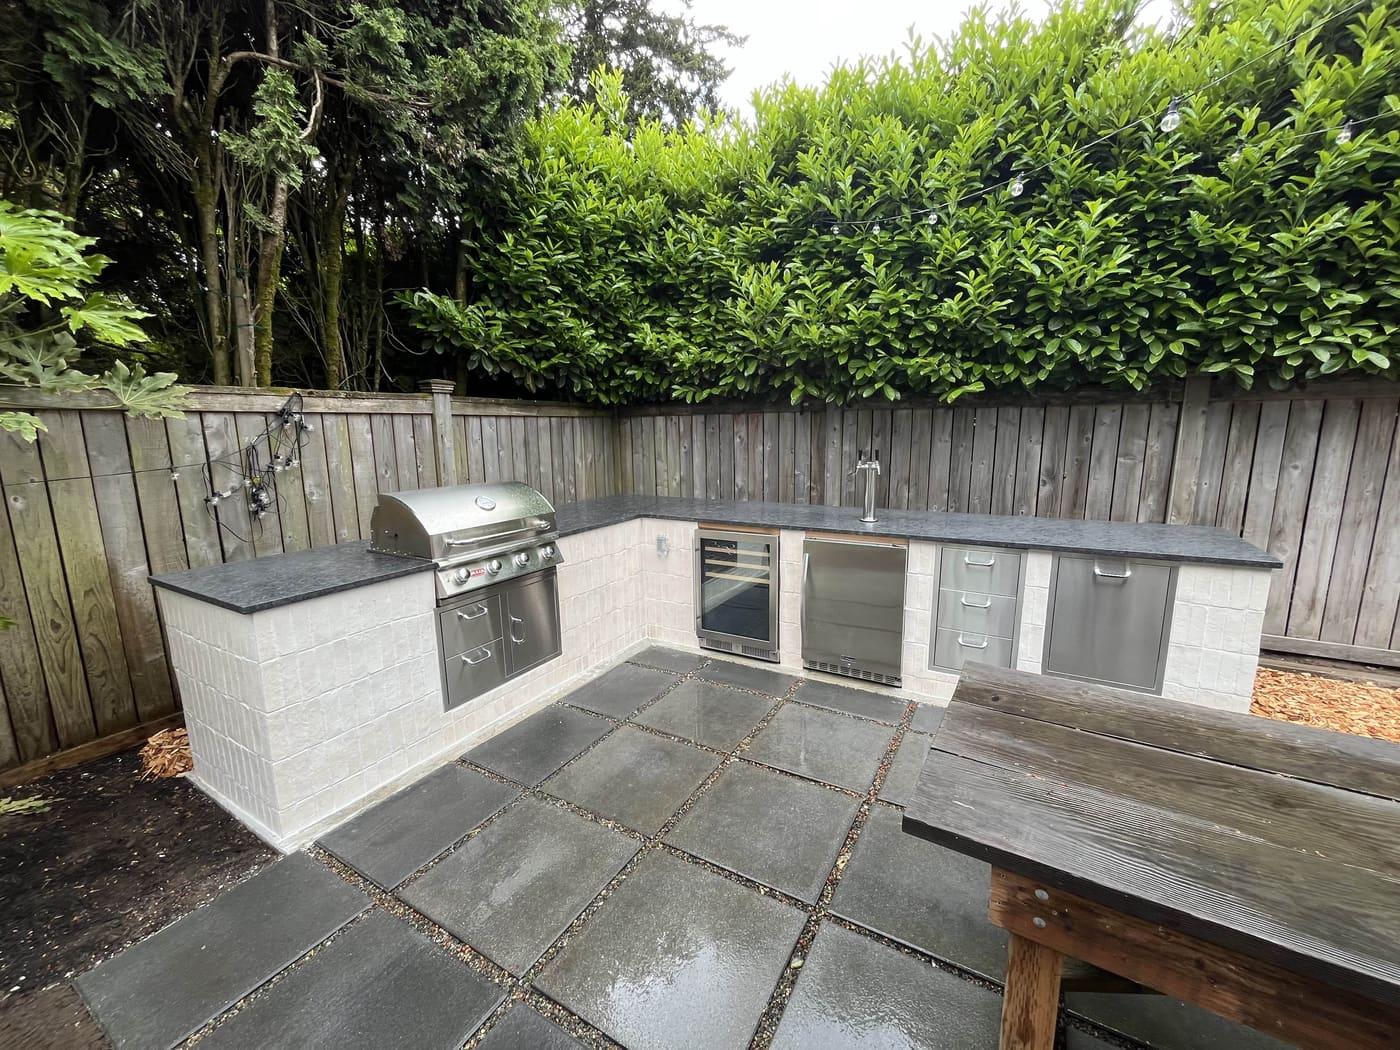
The honest reason to build one of these has nothing to do with fire. It is about how many months of the year the back yard gets used. Around here the evening cools off by seven from late September through June, and a patio without a heat source empties out at exactly the hour people would otherwise stay. A fire feature is the thing that keeps an October dinner outside. That is the value, and it is worth being clear-eyed about it before choosing between wood and gas.
Fuel choice around Puget Sound is really a question about how often you will get to light it. The Puget Sound Clean Air Agency calls burn bans through the winter: during a Stage 1 ban a small recreational fire with clean, seasoned firewood is generally still allowed, and a Stage 2 ban shuts recreational fires down completely. Summer brings a separate layer of restrictions from the county and city fire marshals during dry spells. Gas features stay usable through nearly all of it, which is why a lot of conversations that start with wood end with gas.
On the build side, our crew does the masonry and the site work. We set the footing, lay the shell, cut and set the cap, and rough in a sleeved chase for the gas line while the walls are still open. The final gas connection, pressure test, and inspection are performed by a licensed gas fitter working under permit, because that is what the code requires and we are not going to pretend otherwise. Everything visible, and everything structural, is ours.
What’s included
- Layout that keeps the flame clear of the house, fence line, and overhanging limbs, per the separation your fire code requires
- Compacted structural base or poured footing sized to the mass of the finished unit
- Masonry shell built in segmental wall units with a cut stone or precast cap
- Stainless burner, pan, and air mixer sized to the enclosure on gas builds
- Vent openings on opposing faces of the enclosure, mandatory on any propane installation
- Weep holes and a gravel-drained core so the enclosure sheds rain instead of holding it
- Steel wood-burning insert ring with a fitted spark screen or weather lid on wood builds
- Sleeved gas chase roughed in before the masonry closes, ready for the licensed gas fitter to connect and test
- Integration with the surrounding patio, hearth, or seat wall so the feature belongs to the space
Materials we use
- Mutual Materials Stonegate and Roman Wall units for round and square shells
- Belgard Weston Stone and Celtik Wall for curved enclosures
- Techo-Bloc Mini-Creta and Raffinato for tighter modern faces
- Basalite Bella Vista wall block
- Warming Trends Crossfire and HPC Fire stainless burners, pans, and electronic ignition kits
- Firebrick liners and quarter-inch steel wood-burning insert rings
- Tempered fire glass, lava rock, and ceramic log sets
- Bluestone, granite, and precast concrete caps and hearth slabs
How the build runs
- Step 1
Sit in the space and choose the spot
We bring chairs out and place them at the real seating distance, then check which way the prevailing wind carries smoke, how far the flame sits from the fence and the eave, and whether the spot still works when the patio table is where it usually lives.
- Step 2
Pick the fuel and map the permit path
Wood, natural gas, or propane changes the budget, the code path, and how often you use it. If gas is the answer, we find the meter, size the run, and confirm what your jurisdiction requires for a mechanical or plumbing permit before anything is ordered.
- Step 3
Base, footing, and gas rough-in
Sod and topsoil come out and the pad is built on compacted crushed rock, or on a poured footing where the unit is tall or heavy. The gas sleeve is trenched and stubbed at this stage, with its location measured to fixed points and photographed before backfill.
- Step 4
Build the masonry shell
Courses go up level and plumb off a center string, with construction adhesive between courses and firebrick or a steel liner protecting the inside face. Air vents are placed on opposing sides, and on gas builds the pan opening is framed to the burner dimensions rather than the other way around.
- Step 5
Set the burner or the wood ring
The stainless pan is bedded so it drains, the burner and ignition are mounted, and media is placed at the depth the manufacturer specifies rather than piled deep for looks. Wood builds get their insert ring set, shimmed, and a screen fitted to the finished opening.
- Step 6
Gas connection, pressure test, and inspection
A licensed gas fitter makes the connection, runs the pressure test, and calls for inspection. We coordinate the scheduling so the masonry is complete and accessible on the day, and we hold off on the cap where an inspector needs to see a fitting.
- Step 7
Cap, clean, and first burn
Cap stones are cut, mitered where they turn a corner, and set. Then we light it with you standing there, walk through shutoff location, seasonal draining, and cover use, and leave the burner documentation and the fitter paperwork with you.
A wood-burning block pit is usually a one to two day build; a gas fire table or seat-wall feature runs three to five days of our time, plus a week or two of calendar time waiting on the gas fitter and the inspection.
What it costs
Real installed ranges for the Puget Sound market, published so you can plan before anyone visits.
| Item | Typical range | Unit |
|---|---|---|
| Wood-burning block fire pit with steel insert and cap | $1,800-$4,500 | installed |
| Gas fire pit, round or square, on an existing patioMasonry, burner kit, and media; the gas line is priced separately. | $4,500-$9,000 | installed |
| Custom gas fire table or seat-wall fire feature | $8,000-$16,000 | installed |
| Natural gas line run and connected by a licensed gas fitterPermit and inspection fees are passed through at cost. | $28-$55 | per linear ft |
| Bluestone or granite cap and hearth upgrade | $85-$180 | per linear ft |
| Seat wall wrapped around the fire feature | $70-$120 | per linear ft |
These reflect typical installed ranges for the Puget Sound market rather than a quoted price; burner brand, cap material, how far the gas meter sits from the patio, and your city fee schedule all move the total, and a site walkthrough is what turns a range into a number.
Building this in the Pacific Northwest
Rain gets in, and the enclosure has to let it back out
A fire feature in Kent sits outside through roughly eight months of measurable rain. Water that collects in a burner pan sits on the orifices, corrodes the burner, and freezes in the ports. We build the core on drain rock, drill weeps through the shell, bed the pan so it sheds toward those weeps, and specify stainless components rather than powder-coated steel. A fitted lid over the winter is cheap insurance.
Burn bans set how often a wood pit gets lit
Puget Sound Clean Air Agency winter burn bans and summer fire marshal restrictions are both routine here. Stage 1 typically still permits a small recreational fire with clean seasoned firewood; Stage 2 does not permit one at all. Check the current stage before you light anything. If you want a reliable heat source rather than an occasional one, gas is the practical choice in this airshed.
Freeze-thaw on saturated masonry
Our winters cross the freezing line repeatedly rather than deeply, and a masonry shell that stays wet will spall at the face and lift at the cap through those cycles. We use segmental retaining wall units manufactured to ASTM C1372 rather than lightweight decorative block, choose a dense cap that will not wick, and keep the interior drained. Setting a cap on a soaked base during a December cold snap is how a joint fails in year two.
Permits, clearances, and covered patios
Gas piping and a permanently installed appliance require a mechanical or plumbing permit and an inspection in Kent and essentially every King County jurisdiction; the masonry itself usually does not. Fire code separation from structures, fences, and property lines differs between an open recreational wood fire and a listed gas appliance, so we confirm the applicable numbers with your fire authority before laying out the first course. Most fire features are not listed for use under a solid roof, and overhead clearance is checked on any covered patio.
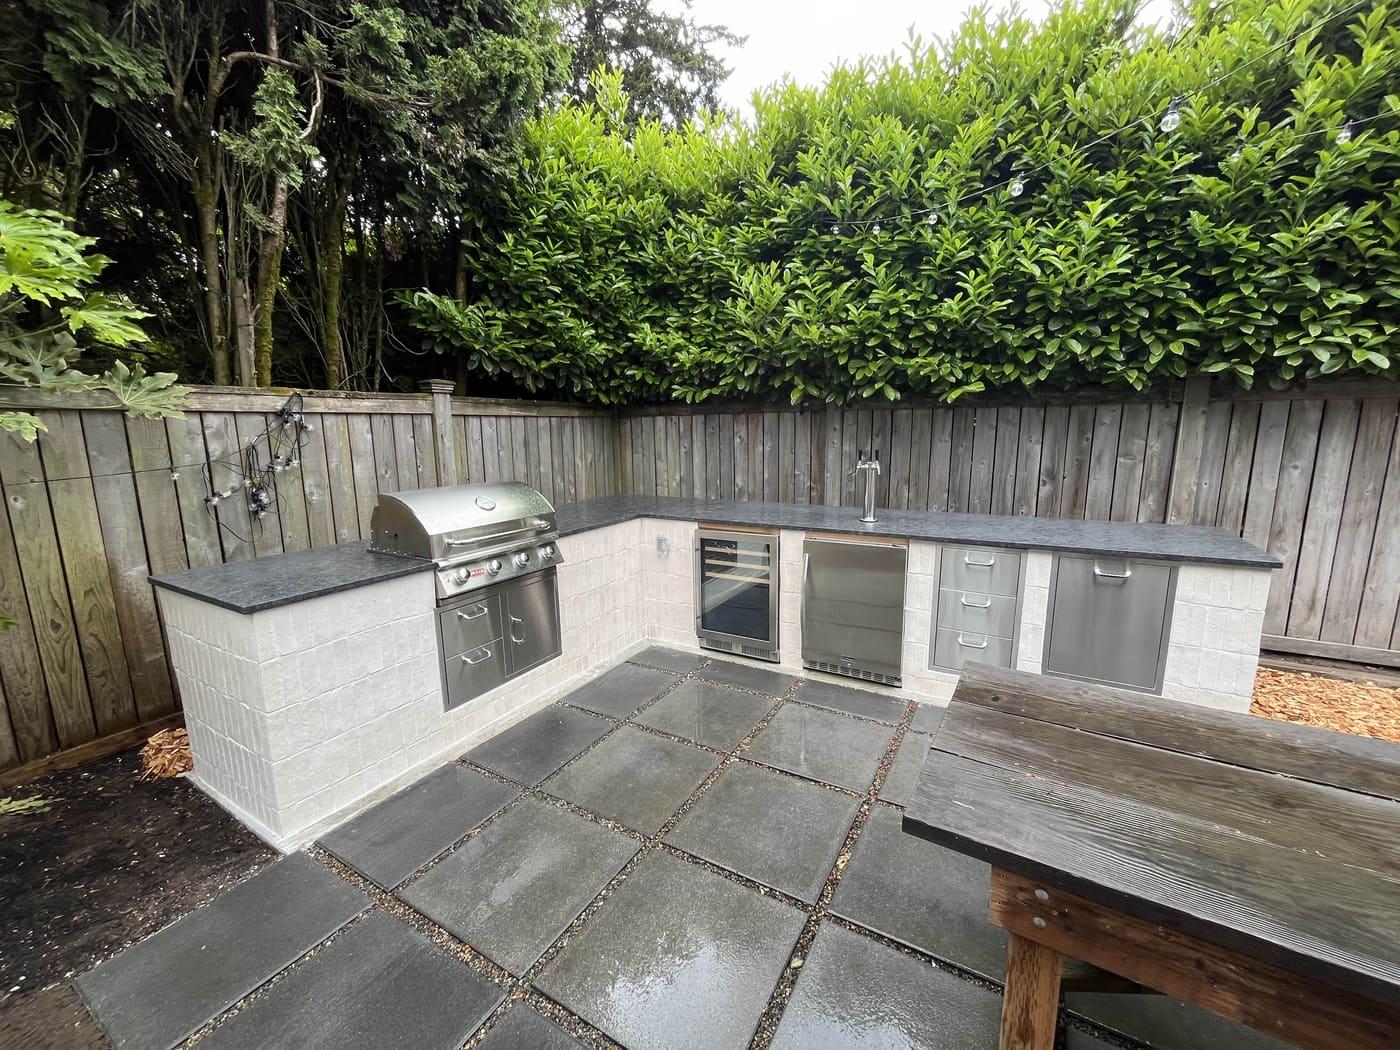
Fire Features we have built
Recent fire features projects
Fire Features: common questions
Wood or gas for a back yard in this region?
Gas wins on frequency of use. It lights instantly, is legal through most winter burn bans, produces no smoke to drift into a neighbor window, and leaves no ash to shovel out of a wet pit in January. Wood wins on cost, on the sound and smell, and on not needing a permit or a gas fitter. Households that entertain on weeknights almost always end up happier with gas.
Can a fire feature go under a covered patio?
Sometimes, and it requires care. Most fire pits and bowls are not listed for installation under a solid roof, and the ones that are come with specific overhead and side clearance requirements plus ventilation expectations. Wood is generally out of the question under a cover. We check the appliance listing, the overhead clearance, and what your fire authority allows before designing anything for a covered space.
What permits does a fire feature need?
The masonry structure itself typically needs no permit at grade. The gas work does. Running a new natural gas line and connecting a permanent outdoor appliance requires a mechanical or plumbing permit and an inspection in Kent and the surrounding cities, and that work must be performed by a licensed gas fitter. We build the enclosure and rough in the chase, then coordinate the fitter, the test, and the inspection.
Natural gas or propane?
Natural gas if the house already has a meter, because you never refill anything and the run is a one-time cost. Propane makes sense when there is no gas service or when the feature sits a long way from the meter, though it means hiding a tank, monitoring the level, and building extra low-level venting into the enclosure, since propane is heavier than air and will pool in an unvented base.
How do I take care of the burner over winter?
Shut the gas off at the feature valve, pull or cover the media, make sure the pan weeps are clear, and put a fitted cover on it. Stainless burners tolerate our winters well when they can drain. The failures we see come from pans that hold an inch of standing water all season. Before the first spring burn, clear debris from the ports and check the ignition.
How far from the house or the fence does it have to sit?
That depends on the fuel and on your local fire authority, and the numbers differ meaningfully between an open recreational wood fire and a listed gas appliance. Beyond the code minimum there is a practical distance: far enough that smoke and radiant heat stay off siding and cedar fence boards, close enough that the seating still relates to the house. We resolve both before layout.
Yard visualizer
Not sure what you want? Design it here in 30 seconds.
Upload a photo of your yard, pick a style, and see it rebuilt with the materials we actually install. Then we build it — same crew.