
Irrigation
Sprinkler Installation in Seattle, Kent & Greater Seattle
Quick answer
Sprinkler installation puts a zoned automatic watering system underground: mainline, valves, heads and a controller, plus the backflow assembly Washington requires at the point of connection. In the Puget Sound market a residential system typically runs $850 to $1,400 per zone installed, and most city lots need four to eight zones.
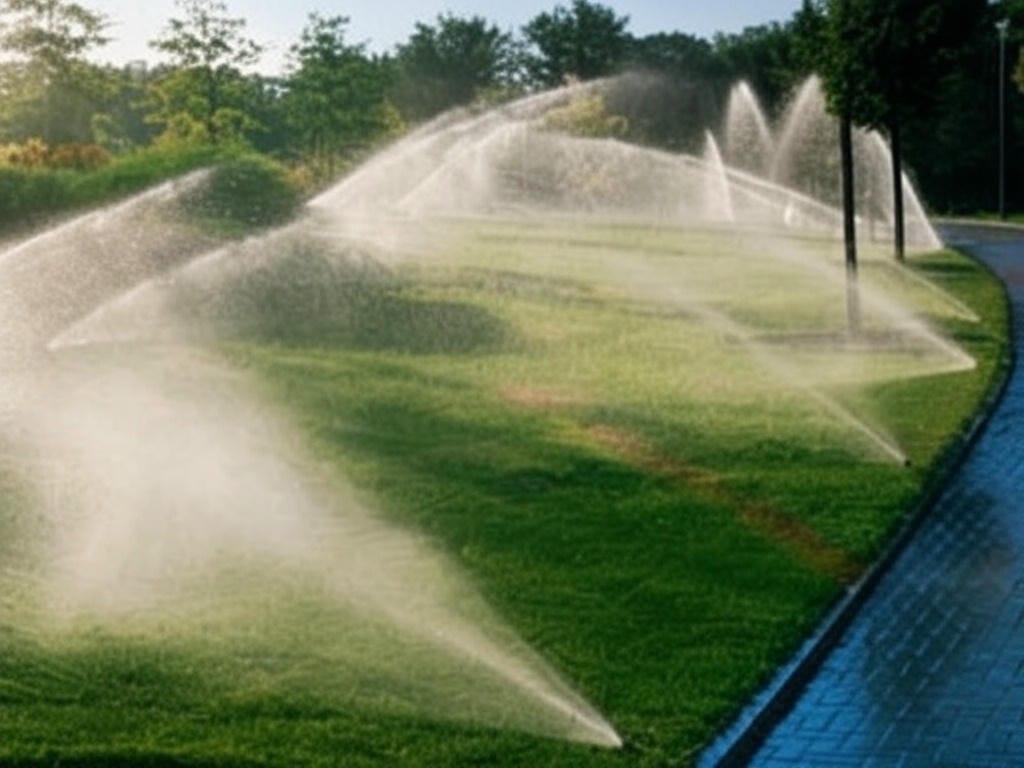
People move here and figure a yard in Seattle waters itself. Then they live through their first July. From about the Fourth of July to the middle of September we get almost nothing. The lawn that was drowning in February goes crisp in six weeks. A hose-end sprinkler on a dial timer gets you by. Then you travel for ten days. A fixed system runs at four in the morning, before wind and evaporation take half of it. And it waters shrub beds on a different schedule than turf.
Every design starts at the hose bib with a pressure gauge and a five-gallon bucket on a stopwatch. Static pressure and available flow decide everything after that. How many heads can share a valve, and whether rotors or MP Rotator nozzles make sense. It also sets the mainline size. Valley-floor lots in Kent and Auburn often read 70 psi with volume to spare. A hillside service in Newcastle or up above Issaquah can show 45 psi on a three-quarter-inch meter. That yard gets a different zone count, or it will never cover.
Don't shop the backflow assembly on price. Washington cross-connection rules say an irrigation system has to be isolated from the drinking water supply. In practice that means a double check valve assembly or a pressure vacuum breaker at the point of connection. It gets installed under your water purveyor and tested by a state-certified assembly tester before the system is done. Kent, Covington Water District, Soos Creek and Highline all want that first report on file. They follow up when it doesn't arrive.
Soil decides how we get the pipe in the ground. In loose valley loam a vibratory plow pulls pipe through with almost no scarring. Up on the plateau in Alderwood till the plow skips off hardpan. Those yards get trenched, and we build the turf restoration into the schedule instead of leaving you a striped lawn.
What’s included
- Static pressure and flow test at the point of connection, measured with a gauge and a timed bucket fill before any layout is drawn
- Zone plan that separates turf from beds, sun from shade, and slope from flat ground so nothing shares a valve it should not
- Head layout at head-to-head spacing with matched-precipitation nozzles inside every zone
- Mainline tap, isolation valve and backflow assembly installed to your water purveyor requirements
- Trenching or vibratory plowing with laterals set 8 to 12 inches deep and mainline below that
- Valve manifolds in accessible boxes over a gravel sump, wired in direct-burial multi-strand with waterproof splices
- Drip tubing and emitters for shrub beds and containers on their own zone, with an inline filter and pressure regulator
- Wi-Fi controller mounted, programmed by hydrozone and paired to a rain sensor or live weather feed
- Certified backflow test with the report filed to the purveyor, turf restoration, and a controller walkthrough before we hand it over
Materials we use
- Hunter PGP Ultra and I-20 rotors for open turf, Pro-Spray bodies for tight corners
- Rain Bird 1800-PRS spray bodies with pressure-regulating stems and check valves
- Hunter MP Rotator nozzles for matched precipitation on odd-shaped lawns
- Febco 765 pressure vacuum breakers and Watts 007 double check valve assemblies
- Hunter Hydrawise Pro-HC and Rain Bird ESP-TM2 Wi-Fi controllers with rain sensors
- Class 200 PVC mainline with flexible polyethylene laterals and insert fittings
- Netafim Techline and Rain Bird XFS inline dripline with 25 psi regulators and Y-filters
- Direct-burial 18-gauge multi-strand wire with DBR/Y waterproof splice connectors
How the build runs
- Step 1
Walk the yard and test the water
We start at the meter and the hose bib. Gauge on, bucket timed, meter size and service line material written down. Then we walk the property. Sun exposure, slope, what is already planted, where the dog runs. That hour tells us whether the yard is a four-zone job or a nine-zone job. It is also why you do not end up with a brown arc every August.
- Step 2
Draw the zones
Turf gets rotors or MP Rotators. Beds get dripline. Anything on a south-facing slope gets its own valve, separate from the flat shady side of the house, because it needs twice the run time. We keep zone flow under about 75 percent of measured capacity. That way the last head on the line still throws its full radius.
- Step 3
Locate utilities and open the ground
A public locate ticket goes in before a shovel moves. We hand-pothole around gas services and unmarked private lines, like the run out to a detached garage. Loose soil gets vibratory plowed. Till and rocky ground gets trenched with a walk-behind. We cut and roll the sod where we can save it, and the spoils stay on boards so your lawn doesn't end up buried in subsoil.
- Step 4
Set the point of connection and the backflow
We tap the domestic line downstream of the meter. A brass isolation valve goes in there, so the whole system can be shut off without killing water to the house. Then the backflow assembly gets set at the height code requires. Pressure vacuum breakers go a foot above the highest head. Double checks get a drainable box. We put the assembly where a tester can reach it and where a freeze cover fits.
- Step 5
Assemble heads, valves and wire
Laterals get glued or clamped. Heads go on swing joints, so a mower strike bends the joint instead of snapping the pipe. Every head gets set flush with finish grade. Valves land in one or two manifolds instead of scattered singles, which keeps future service down to one box. Wire runs with the mainline, and we pull a spare conductor to every manifold.
- Step 6
Flush, program and tune the coverage
We flush the zones before nozzles go in, so glue chips and grit don't park in a screen. Then the controller gets programmed by hydrozone, with cycle-and-soak splits on heavy ground. We run every zone and stand there watching it. Arcs get set, radii get adjusted. Any head throwing onto the driveway or the neighbor fence gets re-nozzled right then.
- Step 7
Certify, restore and hand it over
A certified tester runs the assembly and the report goes to your water district. We backfill and tamp the trenches, then re-sod or seed them. If anything settles later, we come back and top-dress it. Last thing, we sit at the controller with you and go through the seasonal adjust, the rain sensor bypass and the master shutoff. Then we tape a zone map inside the cabinet door.
A four to six zone residential system is normally 2 to 4 days on site; larger properties, long mainline runs and drip conversions push to 4 to 7 days, with the certified backflow test scheduled inside the following week.
What it costs
Real installed ranges for the Puget Sound market, published so you can plan before anyone visits.
| Item | Typical range | Unit |
|---|---|---|
| Residential system, typical per-zone costIncludes heads, lateral, valve, wire and trenching for that zone | $850-$1,400 | per zone |
| Complete 5-zone system on an average city lot | $4,800-$8,400 | installed |
| Backflow assembly, purveyor paperwork and first certified testPVB at the low end, a vaulted double check assembly at the high end | $750-$1,700 | installed |
| Dripline zone for shrub beds, with filter and regulator | $500-$1,100 | per zone |
| Wi-Fi controller with rain sensor | $425-$950 | installed |
| Open turf coverage on larger lotsUnit cost drops as zones get bigger and obstacles get fewer | $0.70-$1.20 | per irrigated sq ft |
These are typical installed ranges for the Puget Sound market in 2026 rather than a quote, because measured pressure, meter size, soil type and how far the point of connection sits from the far corner of the yard move the number more than square footage does, and all four get confirmed during a site walkthrough.
Building this in the Pacific Northwest
Where the water goes when the zone shuts off
Any head sitting below its valve will drain the whole lateral out through itself after each cycle. On a sloped Renton or Newcastle lot that means the bottom head weeps a puddle twice a day all summer. You get a soggy patch that never dries. So we spec check valves in the head bodies on any zone with more than a couple of feet of fall. Valve boxes get a gravel sump under them too. On the Kent and Auburn valley floor the winter water table can sit high enough to fill an unbedded box, and then the solenoids are underwater for months.
Trenching and watering glacial till
Above the valley, Alderwood and Everett series soils have a cemented hardpan layer within a couple of feet of the surface. It stops a vibratory plow dead. Those yards get trenched, and we price them that way. The hardpan also changes how the system has to run. Water applied faster than about a third of an inch per hour sheets downhill off compacted till instead of soaking in. So we build cycle-and-soak schedules into the controller and hold zone precipitation rates low. A zone gets watered in short passes, not one long run.
Designing for a freeze you will forget about
Winters here are mild until an east wind event drops us below freezing for four or five days in December or January. The first thing to go is always an above-grade pressure vacuum breaker with water still in the bonnet. We put the assembly where an insulated cover actually fits. A drainable isolation valve goes in ahead of it, plus a blowout port so the whole system can be cleared with compressed air in the fall. Leave that port out and you pay more to winterize every single year.
Permits, purveyors and the annual test
You don't need a building permit for the sprinkler system itself anywhere in King County. The backflow assembly is another story. It falls under WAC 246-290-490 cross-connection control. Your water purveyor has to be notified. The assembly has to be an approved model, installed at the correct orientation and height. A Washington-certified backflow assembly tester has to pass it on installation and again every twelve months. Some districts, including Covington Water District and Soos Creek, will also quote you a separate irrigation meter. That one usually pays for itself by keeping summer watering off your sewer volume charge.
Sprinkler Installation we have built
Recent sprinkler installation projects
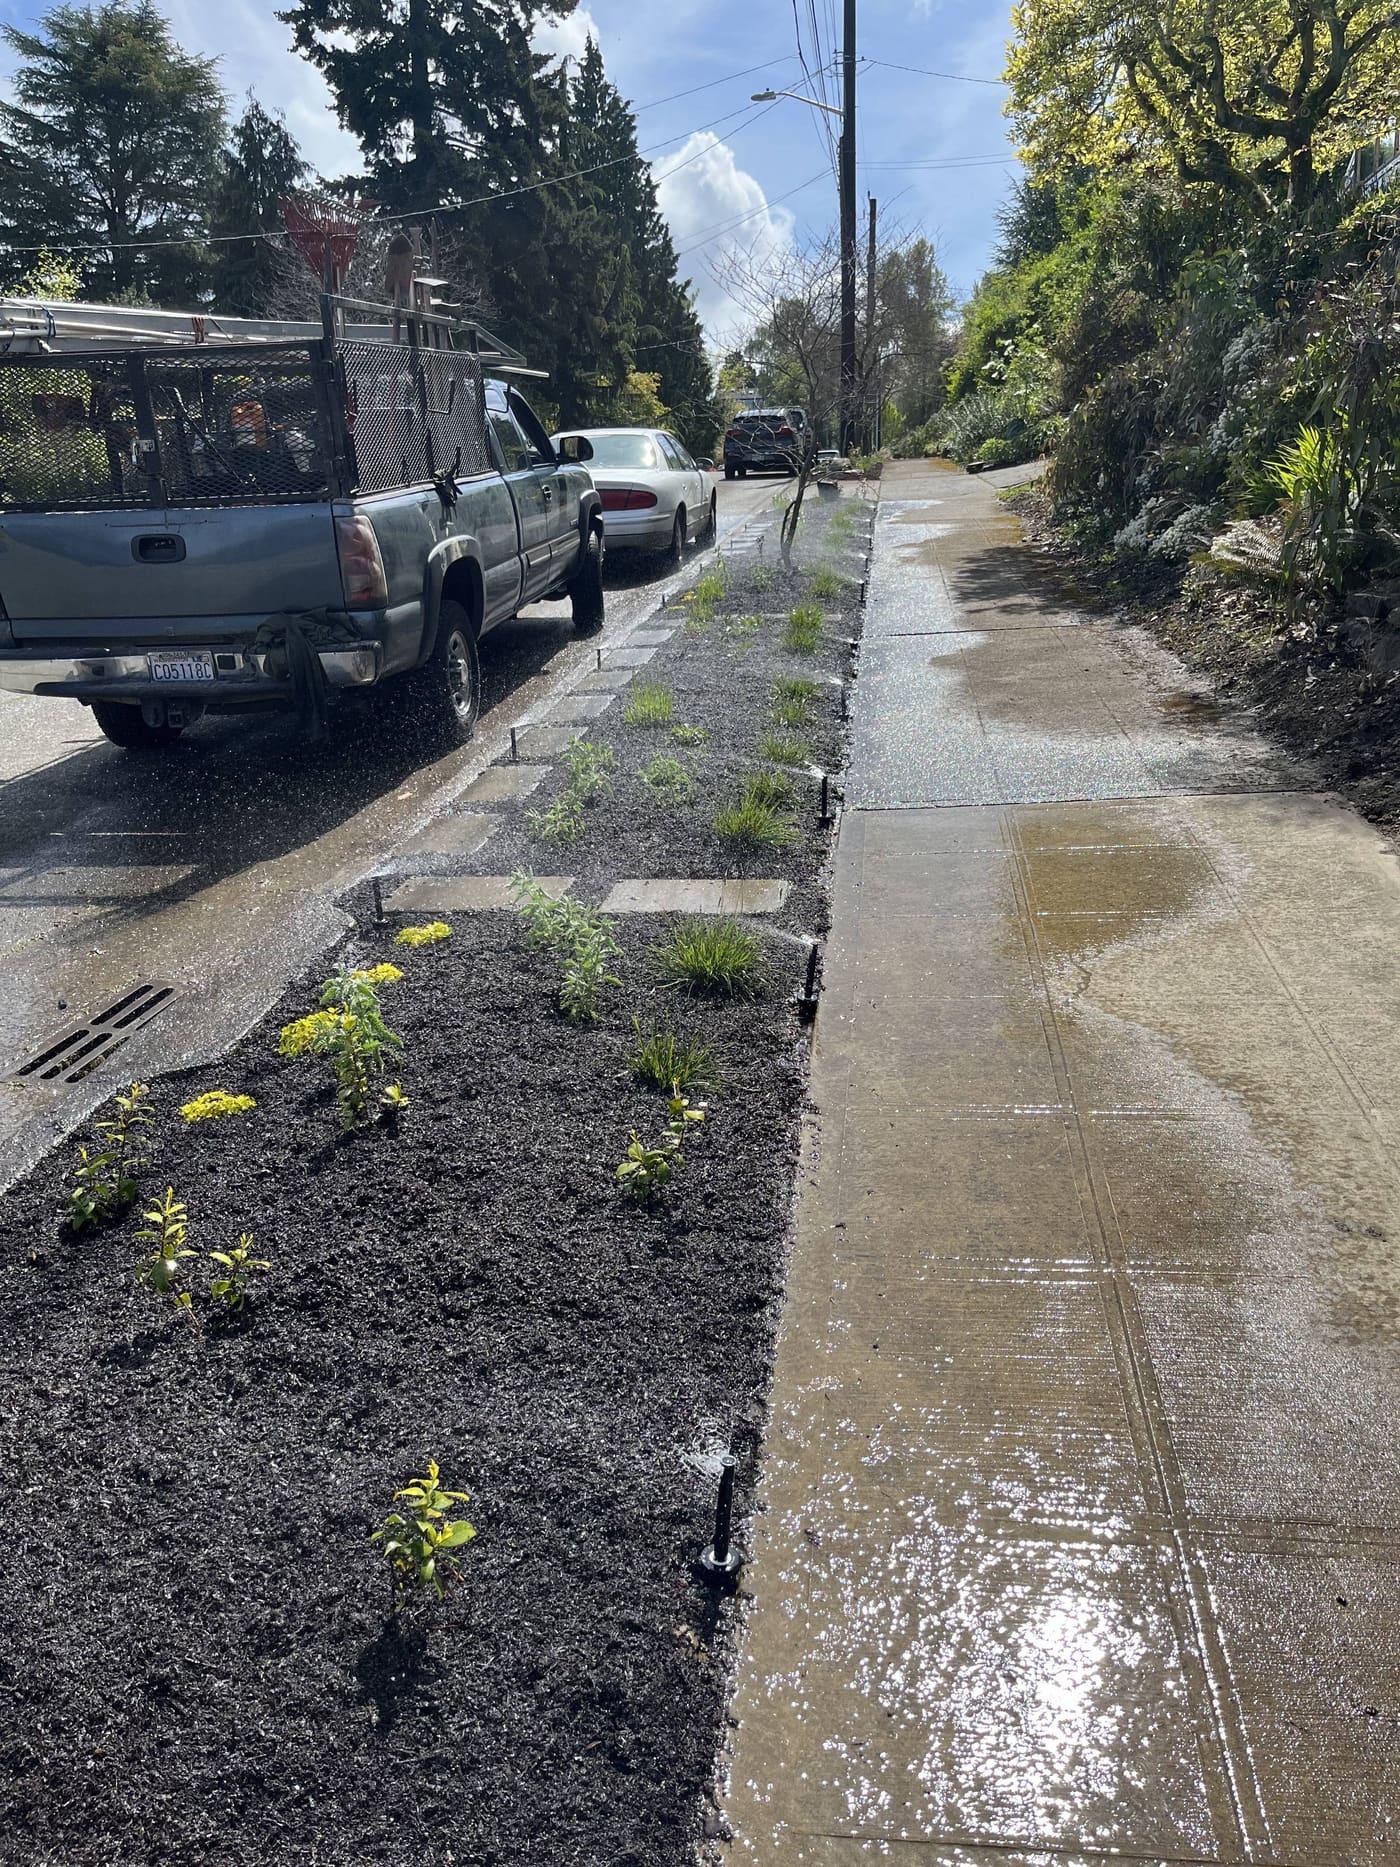
Sprinkler Installation: common questions
How many zones will my yard need?
Zone count comes from available flow, not lot size. A typical 6,000 square foot city lot in Kent or Burien with a front and back lawn and two bed areas usually lands at four to six zones. A half-acre in Maple Valley with a slope and mature planting runs seven to ten. If your service reads low pressure, that same yard needs more zones with fewer heads on each. That pushes the total up.
Do I actually have to install a backflow preventer?
Yes. Washington cross-connection control rules treat every lawn irrigation system as a health hazard to the potable supply. Drop the pressure in the main and it can pull fertilizer-laden standing water backward out of your pipes. Your water purveyor requires an approved assembly, installed correctly, tested at installation and retested every year by a certified tester. Skip it and they can shut off your water service. It also makes a future home sale inspection awkward.
Will you tear up my lawn to put it in?
Less than you expect. A vibratory plow slices a narrow slit and pulls the pipe through it. That seam closes over in two or three weeks of growth. Where the soil is too hard or too rocky to plow, we trench a four-inch wide cut, keep the sod in rolls and lay it back down the same day. Either way we come back and top-dress the settled lines once the ground has taken its first rain.
What is the best time of year to install a system?
March through June is the sweet spot. The ground is workable, sod and seed take hold fast, and the system is commissioned before the dry stretch starts. September and early October work well too, and scheduling is usually easier. We install through the winter when soil conditions allow. But saturated clay compacts badly under equipment. On a wet valley lot we'd rather wait a few weeks than leave you with ruts.
Can the same system water native and drought-tolerant beds?
It should. Just not on the same valve as the lawn. Sword fern, salal, kinnikinnick and evergreen huckleberry want deep infrequent water while they establish, then very little after that. Put them on lawn spray heads and you either drown them or train shallow roots. Those beds go on their own dripline zone at a low emitter rate. After the second summer, once the plants are rooted, we dial the run time way back.
How much will it add to my water bill?
A well-designed system usually costs less than hand watering. It applies water at the rate the soil accepts it, and it runs before sunrise. On an average Kent lot, expect roughly $40 to $90 a month across the three genuinely dry months. Close to nothing the rest of the year. A weather-based controller and a rain sensor typically shave another 20 to 30 percent off that.