
Irrigation
Sprinkler Repair in Kent & Greater Seattle
Quick answer
Sprinkler repair covers broken heads, cut laterals, failed valves, wiring faults and dead zones on an existing irrigation system. Most Puget Sound repair calls open with a diagnostic visit around $115 to $185, and the common fixes land between $25 and $425 depending on what the ground turns out to be hiding.
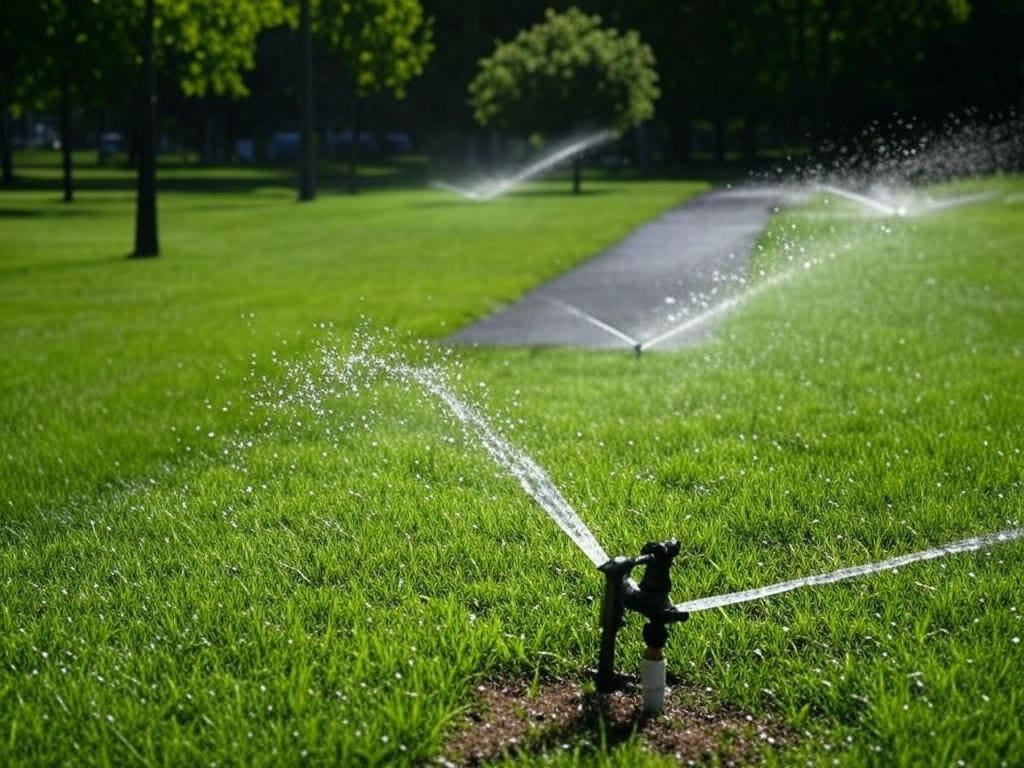
Irrigation systems fail quietly. Nobody notices a zone that stopped opening in April, because April waters itself. The call comes in the second week of August, when a rectangle of lawn browns off in the exact shape of the coverage that used to be there. By then the system has been running its full schedule for two months and doing nothing on that station, and the water bill shows it. The fastest fix is almost always the one you catch during spring start-up, not the one you catch when the grass is already gone.
The failures repeat. A rotor gets clipped by a mower deck because it was set an inch proud of grade. An aerator punches a lateral. A fence crew sets a post straight through the mainline and backfills over it. A solenoid that has been sitting in a flooded valve box since November stops pulling. Big-leaf maple and western red cedar roots slowly crush poly pipe from the outside. And every year we open a handful of pressure vacuum breakers cracked clean across the bonnet because the blowout got skipped and January got cold.
Diagnosis is the actual work. Anyone can swap a head. Finding out why a zone reads open circuit takes a meter at the controller, a resistance check on each solenoid, then a tone generator and locator to walk the field wire until the fault shows up under a valve box lid or at a splice somebody wrapped in electrical tape fifteen years ago. We do that tracing ourselves rather than farm it out, which is why we can start digging within a couple of feet of the problem instead of trenching a line across your lawn on a hunch.
We also tell you when a repair is not the right money. A 1990s system with brittle heads, hand-cut nozzles and a controller with two dead stations is worth patching only if the pipe underneath is sound. Often it is, and re-nozzling the whole yard with pressure-regulated bodies and matched precipitation is a far better return than another season of chasing single heads. When the mainline itself is failing, we will say so plainly rather than sell you six visits that add up to a new system anyway.
What’s included
- Full zone-by-zone run test from the controller and at the valve, noting pressure, arc, radius and any station that will not open
- Replacement of broken, sunken, tilted and mower-clipped heads with matched nozzles and pressure-regulated bodies
- Leak location and repair on laterals and mainline, including hand excavation around roots, pavers and existing hardscape
- Valve diagnosis with rebuild or replacement, covering solenoids, diaphragms, seized flow-control stems and debris under the seat
- Field wire fault tracing with a tone generator and locator, plus waterproof re-splicing at every point we open
- Controller troubleshooting, station output testing and replacement of failed modules or dead units
- Backflow assembly repair, including freeze-split bonnets, failed first and second checks and leaking test cocks
- Coverage correction by re-nozzling, raising heads on swing joints and relocating anything that shrubs have grown over
- Valve box excavation, cleanout and a gravel sump so the next service call is not a mud dig
Materials we use
- Hunter PGP Ultra and Rain Bird 5000 rotor bodies sized to drop straight onto existing zones
- Rain Bird 1800-PRS and Hunter Pro-Spray bodies with MP Rotator and matched-precipitation nozzles
- Hunter PGV and Rain Bird DVF replacement valves with solenoid and diaphragm rebuild kits
- Poly insert couplings, stainless clamps and Schedule 40 PVC slip repair couplings for lateral breaks
- DBR/Y and King Innovation waterproof gel splice connectors for direct-burial field wire
- Febco 765 and Watts 007 rebuild kits, replacement bonnets, poppets and test cocks
- Funny pipe, swing joints and cut-off risers for resetting head height after settling
How the build runs
- Step 1
Hear the symptom, then run the system
You tell us what you are seeing: a dry corner, a puddle, a station that clicks but never pressurizes, a controller flashing a fault. Then we run every zone from the top and watch it, because the reported problem and the actual problem are different about half the time. A dead zone often turns out to be three zones with the wrong nozzles fighting each other for pressure.
- Step 2
Isolate the failure to a zone, a valve or a wire
If a station will not open, we go to the valve and energize the solenoid by hand. If it opens manually, the fault is electrical and we take resistance readings at the controller terminal strip. If it will not open manually, the fault is mechanical and the valve comes apart. That single test splits the problem in half in about ninety seconds and saves an hour of guessing.
- Step 3
Find the break without opening the whole yard
For wire faults we tone the line and walk it with a locator until the signal drops. For pressure loss we isolate zone by zone and watch the meter with everything else shut, which tells us whether water is leaving the mainline or a lateral. Wet spots are dug carefully by hand, because a break under a paver walkway or a cedar root ball needs a scalpel, not a machine.
- Step 4
Repair it to outlast the patch
Poly breaks get proper insert couplings and stainless clamps, never a slip-on and a prayer. PVC gets cut back to sound pipe and a full repair coupling. Splices go in waterproof gel connectors and get buried in an accessible box, not left loose in the dirt. Heads come back on swing joints so the next mower strike bends the joint instead of shearing the lateral fitting.
- Step 5
Fix the coverage, not just the part
A replaced head is useless if the zone was never covering. We check spacing against throw, swap mismatched nozzles so precipitation rates match within the zone, and reset arcs off the driveway and the siding. Where a rhododendron or a laurel has grown into the pattern, the head gets raised or moved rather than left to spray the back of a shrub for another summer.
- Step 6
Pressure test and cycle the whole system
Before we pack up, every zone runs a full cycle while the repair sits open and visible. We watch the meter for creep with the system off, confirm the controller advances cleanly through the program, and check that the backflow is holding without weeping. Then the excavation is backfilled, tamped and the turf laid back.
- Step 7
Report what is aging
You get a plain list of what we fixed and what we saw on the way: two heads with worn nozzles, a valve box with a cracked lid, a controller on its last station. No pressure to do any of it now. It just means next spring you are choosing what to spend money on instead of finding out in August.
Most single-issue repairs are handled in one visit inside 1 to 3 hours; multi-zone diagnostics, wire fault tracing and mainline leaks typically take a half to a full day, and a whole-system head and nozzle overhaul runs 1 to 2 days.
What it costs
Real installed ranges for the Puget Sound market, published so you can plan before anyone visits.
| Item | Typical range | Unit |
|---|---|---|
| Diagnostic service call, first hour on siteCredited toward the repair when we complete the work the same day | $115-$185 | per visit |
| Spray head or rotor replacementPressure-regulated bodies and gear-drive rotors sit at the top of the range | $25-$95 | per head |
| Lateral line break repairDepth, root interference and hardscape above the break drive the number | $150-$425 | per break |
| Valve rebuild or replacement in an existing box | $185-$395 | per valve |
| Field wire fault locate and repair | $225-$650 | per fault |
| Backflow assembly rebuild or full replacementRebuild kit at the low end, replacement with permit and retest at the high end | $185-$1,300 | per assembly |
The figures above are typical installed repair ranges for the Puget Sound market in 2026, not a quote, since a buried failure is priced by what it takes to reach it and nobody can see that from a phone call, so the actual number comes out of the diagnostic visit and gets confirmed with you before we dig.
Building this in the Pacific Northwest
What January actually breaks
Our winters are mild enough that homeowners get complacent, then an east wind event parks us below freezing for four or five days and every system that skipped its blowout pays for it. The classic failures we open in March are a split pressure vacuum breaker bonnet, a cracked brass ball valve at the point of connection, and poly laterals that burst at the fitting where trapped water had nowhere to expand. A blowout costs a fraction of any of those repairs.
Repairing in saturated ground
From November through March the soil here holds water like a sponge, and that changes repair work in two ways. Valve boxes on the Kent and Auburn valley floor fill and stay full, drowning solenoids and turning a simple valve swap into a bail-and-pump job. It also creates false alarms: a wet patch in February is far more likely to be low-head drainage or a high water table than a leak. We verify with the meter before anyone digs a hole in a lawn that is already soft.
Till, roots and settling
On the plateau in Covington, Maple Valley and Renton Highlands, laterals were often laid right on top of Alderwood hardpan because that is as deep as the plow would go. Shallow pipe meets aeration tines, garden forks and fence augers. Down in the valley the problem is the opposite: fill soils keep settling, so heads sink below grade and spray into thatch until somebody notices the lawn browning. Both get corrected with swing joints and a proper head height reset, not by cranking the nozzle wider.
Permits and the backflow rules on a repair
Repairing pipe, heads, valves or wire needs no permit anywhere in King County. Replacing the backflow assembly does trigger paperwork: the new assembly must be an approved model, installed at the correct height and orientation, and passed by a Washington-certified backflow assembly tester, with the report sent to your water purveyor. If your assembly failed its annual test, most districts here allow a short correction window before they escalate, so a failed test is worth handling in the same month it arrives.
Sprinkler Repair we have built
Sprinkler Repair: common questions
Why did one zone stop working completely?
Nine times out of ten it is one of three things: a solenoid that has failed open circuit after sitting in a wet valve box, a nicked field wire that finally corroded through, or debris under the valve diaphragm holding it shut. We can tell which within a couple of minutes by energizing the solenoid manually at the valve. Mechanical faults get the valve opened; electrical faults get the wire toned and traced.
The heads all come on but the lawn still browns in patches.
That is a coverage or pressure problem, not a broken part. Usually the zone has too many heads for the available flow, so the far heads throw short and leave gaps between arcs. Sometimes it is mismatched nozzles putting down half an inch an hour on one side and an inch on the other. We measure with catch cups, rebalance the nozzles and, where needed, split the zone in two.
There is a wet spot in the lawn that never dries out. Is that a leak?
Maybe. Check the meter first: shut every fixture in the house, note the leak indicator, and if it creeps with the irrigation isolation valve open but stops when it is closed, you have a mainline leak and should shut it off now. If the meter is still, the likeliest cause is low-head drainage, where the lowest head on a sloped zone empties the lateral through itself after every cycle. That is fixed with check valves, not excavation.
How do you find a buried break without digging up the yard?
A combination of isolation and tracing. We shut zones one at a time and watch the water meter to identify which line is losing pressure, then follow the pipe route with a locator where wire runs alongside it. Ground conditions help too: a pressurized mainline break in dense till pushes water to the surface along the trench line, which usually points within a few feet of the failure.
Is a twenty-year-old system worth repairing?
Often yes, because the expensive part is the buried pipe and the trenching, and PVC mainline lasts decades. What ages out is the visible hardware: heads, nozzles, valve diaphragms and the controller. Replacing all of that on a sound piping layout typically costs a third to a half of a new install and gives you modern pressure regulation and weather-based scheduling. If the mainline itself is leaking in multiple places, that math changes.
My backflow assembly failed its annual test. What now?
A failure is usually a worn first or second check, a fouled poppet or a leaking test cock, and most assemblies can be rebuilt in place with a manufacturer kit for a fraction of replacement cost. If the body itself is freeze-cracked, it gets replaced with an approved model and retested. Either way the corrected report goes back to your water purveyor, which closes out the notice they sent you.