
Hardscaping
Outdoor Steps & Garden Stairs in Kent & Greater Seattle
Quick answer
Outdoor steps turn a slope into a route you can carry groceries up. In the Puget Sound market, block-and-cap steps typically run $250 to $450 per linear foot of tread installed, and solid granite or basalt slab treads run higher. Rise and run must stay consistent, and any flight of four or more risers needs a graspable handrail.
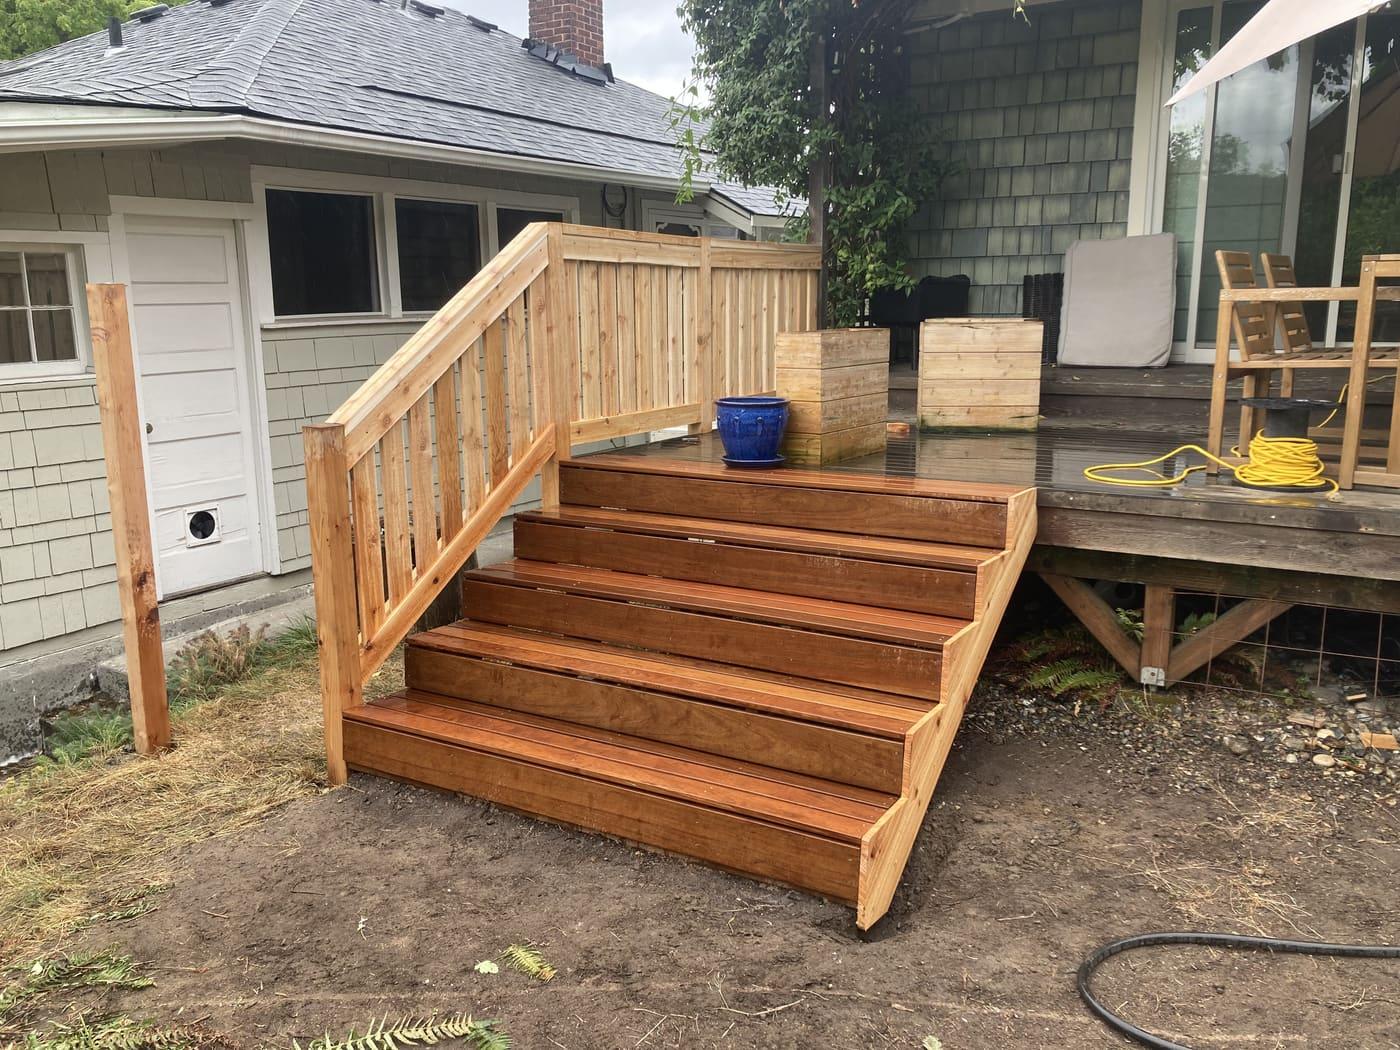
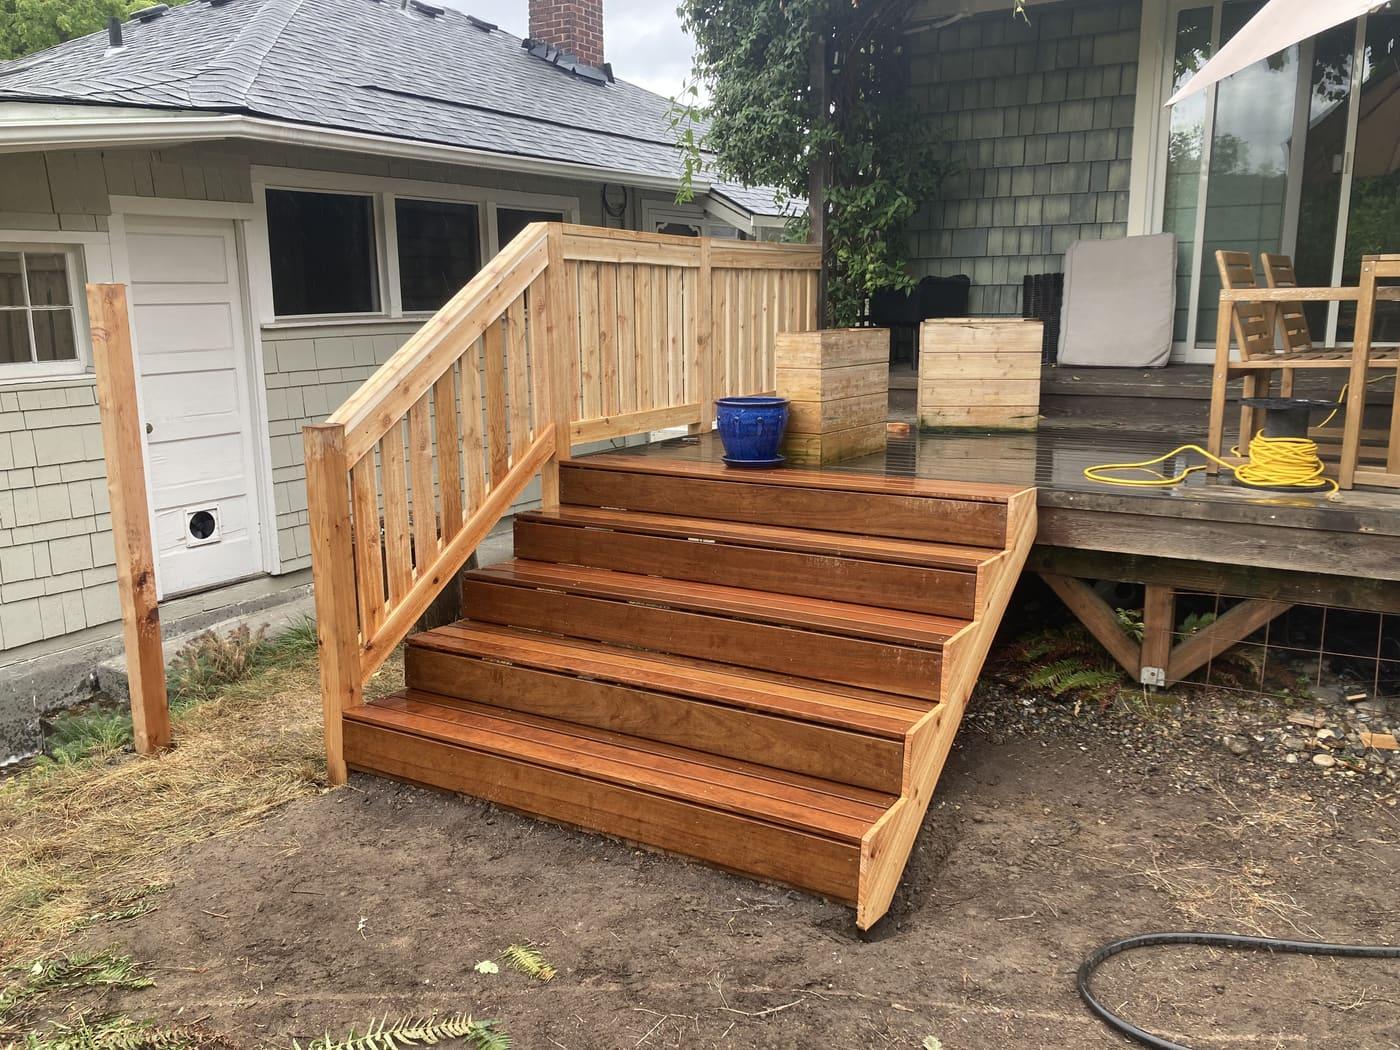
Grade changes are the reason half the backyards in this region go unused. A lawn that drops five feet from the deck to the fence line is not a yard, it is a hill with grass on it. Steps solve that, and badly built steps make it worse. Inconsistent risers are the single most common defect we find in South King County: somebody built to the dirt instead of to a layout, and now every third step is an inch taller than the one below it.
Getting a flight right starts with arithmetic, not with block. We measure total rise from finish grade to finish grade, divide it into equal risers between 5 and 7 inches, then set a tread depth of 12 to 18 inches. Outdoors, shallower risers and deeper treads read better than an indoor stair, because people carry things and wear boots. Once that number is fixed, the whole flight is built to it, and the last riser at the top lands flush instead of surprising someone in the dark.
Because we draw the flight and set the block with the same crew, the stair and whatever it connects to get built as one piece of work. Cheek walls line up with the retaining wall beside them, sharing one layout and one drain outlet. A landing lands where the patio actually ends, not where a drawing guessed it would, and the perforated line behind the flight runs to the same daylight point as the wall it ties into.
Material choice here has a wet-season job to do. Nine months of the year a north-facing flight in Federal Way or Burien stays damp, grows a film of algae and turns slick. We steer people toward textured block caps, thermal-finished granite or sawn basalt treads rather than anything polished, and we pitch every tread about a quarter inch forward so water leaves instead of standing. Low-voltage riser lights do more for real safety on those stairs than the handrail does.
What’s included
- Total rise and run measured with a transit, then divided into equal risers before any material is ordered
- Layout staked on site so you can walk the proposed flight and landing positions before excavation
- Excavation and removal of the existing steps, railroad ties or eroded dirt path
- Compacted crushed rock base under every tread and landing, placed and plate-compacted in lifts
- Step units set to a consistent rise, each tread pitched forward for positive drainage
- Cheek walls or side returns where the flight cuts into a bank, tied into adjacent retaining work
- Perforated drain line and drain rock behind any step run that retains soil on both sides
- Handrail post cores or surface-mount anchors set during the build, not drilled in later
- Low-voltage riser or hardscape lighting sleeved and wired before caps are bonded down
Materials we use
- Mutual Materials Cascade Wall and Roman Stack step units
- Basalite GardenWall step blocks with matched caps
- Allan Block AB Courtyard cores for cheek walls and pilasters
- Thermal-finish granite and sawn basalt slab treads
- Belgard Weston Stone and Techo-Bloc Mini-Creta step systems
- Cast-in-place concrete with a broom or rock-salt finish for utility flights
- Powder-coated aluminum and black steel graspable handrail
- Freeze-rated polyurethane hardscape adhesive and 5/8-inch minus compacted base
How the build runs
- Step 1
Measure the rise and set the math
Before anything else, the crew shoots the elevation at the bottom landing and at the top, then works out how many equal risers fit that dimension. That number decides the tread depth, the total run and how far the flight projects into the yard. If the run does not fit the space, we look at a switchback or a mid-flight landing rather than cheating a riser.
- Step 2
Stake the layout and walk it
We mark the nosing line of each tread and the landing footprint on the ground with paint and stakes. You get to walk it before we dig. This is where most changes happen, and they cost nothing at this stage: a landing shifted two feet, a flight rotated to face the patio door, a wider bottom step that doubles as a place to set a planter.
- Step 3
Excavate and build the base
Old ties, broken concrete or the worn dirt track come out first. The crew over-excavates behind the flight so there is room for drain rock, then places crushed base under every tread and compacts it in lifts. Bottom step and landing get the deepest section, because that is where the whole flight tries to settle.
- Step 4
Set the bottom course dead level
Everything above the first course inherits its errors, so the base unit is leveled front to back and side to side and checked twice. From there each riser is set to the fixed dimension, with the block face buried far enough that the first step does not undercut when the surrounding soil settles over the first winter.
- Step 5
Build the flight with drainage behind it
As courses rise, filter fabric and clean drain rock go in behind the units and any cheek walls, with a perforated line collecting water at the base and running to daylight. Treads are cut on a wet saw where the flight needs a radius or a tight fit against an existing wall, and each tread gets its forward pitch.
- Step 6
Caps, rail and lighting
Caps and slab treads are bonded with adhesive rated for freeze cycling. Handrail anchors are set into cored block and grouted, then the rail is mounted at 34 to 38 inches above the nosing line. Riser or step lights are wired to a transformer and aimed so they wash the tread instead of shining in your eyes.
- Step 7
Backfill, plant and clean
Soil is brought back to grade along the cheek walls, and we plant the shoulders with sword fern, kinnikinnick or carex so the banks knit together instead of washing out. The flight is swept and rinsed, adhesive squeeze-out is cleaned off, and we walk it with you one riser at a time.
A short flight of 3 to 5 risers is typically a 2 to 3 day job; a full hillside stair of 10 to 18 risers with landings, cheek walls and lighting usually runs 5 to 9 working days.
What it costs
Real installed ranges for the Puget Sound market, published so you can plan before anyone visits.
| Item | Typical range | Unit |
|---|---|---|
| Segmental block steps with cap treadsAssumes 4 ft wide flight; wider treads scale the number | $250-$450 | per linear foot of tread |
| Natural granite or basalt slab treadsSlab weight often requires machine placement | $450-$800 | per linear foot of tread |
| Poured concrete steps, broom finish | $180-$340 | per linear foot of tread |
| Cheek walls flanking a flight | $50-$85 | per face sq ft |
| Powder-coated aluminum handrail | $95-$185 | per linear foot |
| Low-voltage riser or step lighting | $110-$200 | per fixture installed |
Figures above are typical installed ranges for King County in 2026 rather than a quote, since the real driver is total rise, machine access and what has to come out first, all of which we price after a site walkthrough.
Building this in the Pacific Northwest
Water runs down a stair before you do
A flight cut into a slope becomes the path of least resistance for everything the hillside sheds. Left alone, that water undermines the bottom riser and pushes fines out of the base. We build the drainage first: fabric and clean rock behind the units, a perforated line at the base of the flight, and a positive outlet. Treads pitch forward a quarter inch so nothing ponds on the walking surface.
Till bears well, fill does not
Cutting steps into undisturbed Alderwood till in Covington or Kent gives you excellent bearing. Cutting them into a builder fill pad, which is common on lots developed in the last thirty years, does not. We probe the bank before pricing. Where the soil is fill or organic, the fix is over-excavating and replacing with compacted crushed rock rather than hoping the base course finds something solid.
Ice, algae and the wet-season surface
Hard freezes here are short but frequent enough to matter on a north-facing flight, and the bigger year-round hazard is biofilm on a smooth surface. Textured block caps, thermal-finished granite and sawn basalt all hold traction wet. Mortared risers tend to hairline-crack through the freeze cycling, which is a large part of why we build dry-set with flexible adhesive instead.
Handrails, riser limits and permits
Washington follows the residential code that requires a graspable handrail on any flight with four or more risers, mounted 34 to 38 inches above the nosing. Risers must not vary more than 3/8 inch across the flight. Steps themselves rarely need a permit, but if the cheek walls or adjacent retaining exceed 4 feet, the wall triggers engineering and a building permit even though the stair does not.
Outdoor Steps we have built
Recent outdoor steps projects
Outdoor Steps: common questions
What riser height should outdoor steps use?
For a garden flight we normally land between 5.5 and 6.5 inches of rise with a 14 to 17 inch tread. That is shallower than an indoor stair on purpose, since people walk outdoor steps carrying things and often in the rain. Code caps residential risers at 7.75 inches and allows no more than 3/8 inch of variation across the whole flight, and consistency matters more than the exact number you pick.
Can you replace railroad tie steps?
Yes, and it is one of our most common step jobs in South King County. Tie steps built in the 1980s and 1990s are usually rotted at the spikes, settled unevenly and leaching creosote. We pull them, dispose of the treated timber properly, cut a proper bench, install base and drainage the originals never had, and rebuild in block or stone. Expect the new flight to sit slightly differently, since we correct the rise.
Do outdoor steps need a footing below frost depth?
Dry-set segmental steps do not need a poured frost footing in King County. They need a compacted crushed-rock base, typically 6 to 12 inches deep depending on soil, which drains freely and moves as a unit if anything shifts. Poured concrete steps are different: those want a footing and reinforcement tied to something stable, or they crack where the slab meets the landing.
How do I keep the steps from getting slippery in winter?
Pick a textured surface at the start, because you cannot add grip to polished stone later. Beyond material, keep the treads clear of leaf litter, since decomposing maple and alder leaves are what feed the algae film. A yearly rinse with an oxygen bleach solution in early spring handles most of it. Avoid rock salt on segmental caps and use a calcium magnesium acetate deicer instead.
Can steps and a retaining wall be built at the same time?
They should be. When the stair cuts through a wall, the cheek walls, the wall courses and the drainage all need to share one layout and one drain outlet. Building them as separate jobs is how you end up with a seam that leaks and caps that do not align. It also settles the permit question in one pass: if the cheek walls or the adjacent retaining exceed 4 feet, the wall triggers engineering and a building permit even though the stair does not.
What if my slope is too steep for a straight flight?
Then we break it up. A mid-flight landing every 6 to 8 risers makes a steep climb feel manageable and gives you a place to rest a wheelbarrow. On a very tight grade change we will switchback the run across the hillside, which lengthens the walk but flattens the climb and usually opens up planting pockets that a straight shot would have buried.
Yard visualizer
Not sure what you want? Design it here in 30 seconds.
Upload a photo of your yard, pick a style, and see it rebuilt with the materials we actually install. Then we build it — same crew.