
Hardscaping
Seating Walls in Kent & Greater Seattle
Quick answer
A seating wall is a low freestanding wall, usually 18 to 20 inches tall, that edges a patio and doubles as permanent bench space. Around Seattle, installed cost typically falls between $80 and $150 per linear foot depending on cap material and whether the wall carries a fire table or lighting.
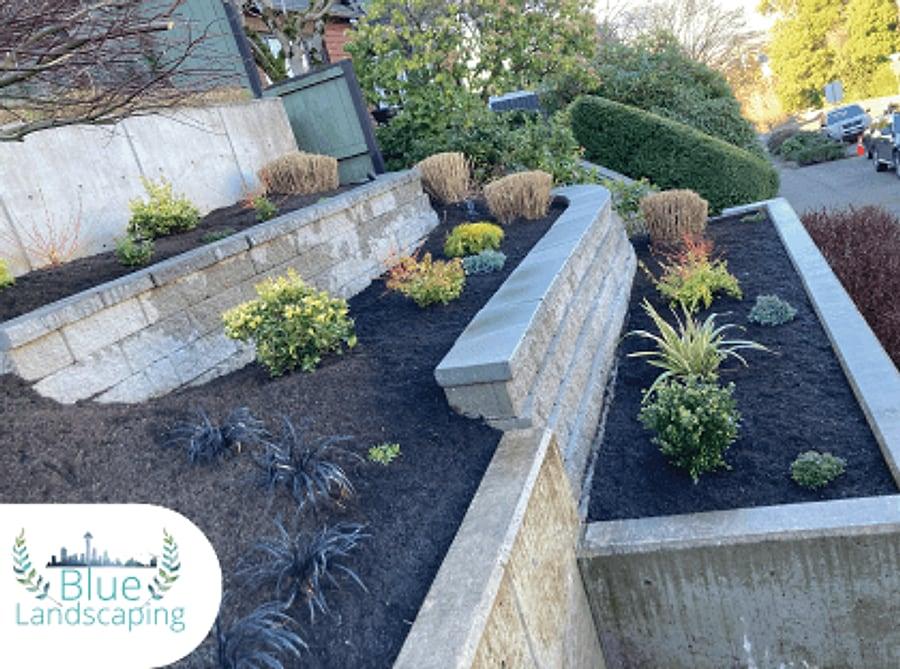
Sit on a standard patio chair and measure from the floor to the underside of your knee. That is about 18 inches, and it is the whole design brief for a seating wall. Build it at 16 and people perch. Build it at 24 and their feet dangle. We set most seat walls between 18 and 20 inches to the top of the cap, with a cap at least 12 inches deep so there is somewhere to put a plate.
A seating wall is freestanding, which makes it a different animal from a retaining wall even though the block looks similar. There is no soil load pushing on it, but there is also no soil holding it down, so it lives or dies on its base. Both faces are finished, both faces get looked at up close, and the core is either solid units or a hollow core filled and reinforced. Skimp on the base under a freestanding wall and it telegraphs every settlement crack straight through the cap joints.
Drawing the patio and the wall on the same sheet is what keeps the two from fighting. We plan the paver field first, then place the wall so the field runs into it with a clean cut line instead of a strip of slivers along the base. Our crew sets both, so the seat wall base goes in while the patio section is still open and the two share one compacted platform. That sequencing is not available when a mason shows up after the patio is already finished.
In a climate where the patio furniture spends five months under a cover, a seat wall is the seating that stays out. It also does quiet structural work: defining the edge of a patio that would otherwise bleed into the lawn, screening a hot tub from the neighbor in Renton, holding a raised planter of hydrangea and hebe at the back of a small Ballard yard. Twenty linear feet of wall seats ten people and never blows over in a November windstorm.
What’s included
- Seat height and cap depth set from how the patio is actually used, then staked on site before excavation
- Layout that coordinates the wall line with the paver field so no sliver cuts land at the base
- Excavation of the wall footprint and removal of organics down to bearing soil
- Compacted crushed-rock base under the full wall footprint, tied into the adjacent patio section
- Both faces built as finished faces, with hollow cores filled and rebar-reinforced where the height calls for it
- Corners, radius runs, pilasters and column ends cut and dry-fit before anything is bonded
- Caps bonded with freeze-rated hardscape adhesive, overhanging the face for a shadow line
- Conduit and low-voltage sleeves run inside the wall before capping, for cap lighting or an outlet
- Backfill, planting pockets and finish grading along the back of the wall
Materials we use
- Mutual Materials Roman Stack, Barkman Broadway and matching bullnose caps
- Belgard Weston Stone and Celtik Wall freestanding units
- Techo-Bloc Mini-Creta and Raffinato with double-sided finish
- Basalite Verona and Cottage Stone freestanding block
- Allan Block AB Courtyard hollow core system for reinforced runs
- Bluestone, thermal granite and sawn basalt slab caps
- Natural stone veneer over CMU core for a full masonry look
- Freeze-rated polyurethane hardscape adhesive and compacted 5/8-inch minus base
How the build runs
- Step 1
Sit down and figure out the geometry
We start by asking how the space gets used. A wall meant for dinner guests behind a table wants a different height and setback than one meant for kids and a fire bowl. We mark the proposed line with paint, drop a couple of block on the ground at height, and have you sit on them. Adjustments happen right there.
- Step 2
Coordinate the wall with the patio layout
The wall line is drawn against the paver pattern so full units meet the wall face wherever possible. Corner returns, entry gaps and any planned fire table get located now. If the wall separates two levels of a patio, we set the step-down here so the whole build shares one set of elevations.
- Step 3
Excavate and build a real base
Sod, topsoil and anything organic come out under the whole footprint, usually 8 to 12 inches down. Crushed rock goes in and gets compacted in lifts with a plate. A freestanding wall has no soil mass helping it, so this platform is the single most important thing under the finished product.
- Step 4
Set the first course and check it twice
The base course is leveled in both directions and buried enough that the first joint sits below finish grade. On a curved run, the crew steps the units around the radius and pulls a string to keep the arc true. Everything above copies this course, so nothing moves forward until it reads level end to end.
- Step 5
Build up, reinforce and sleeve
Courses go on with joints staggered, adhesive between them and cores filled where the system calls for it. Any wall over about 24 inches or carrying a fire table gets vertical rebar and grout in the cores. Low-voltage sleeves and conduit for cap lights or a weatherproof outlet get run inside the wall before the top course lands.
- Step 6
Cut and set the caps
Caps are dry-laid across the whole run first so the layout can be shifted and the cut pieces land somewhere sensible rather than at the focal corner. Then they come up, get a bead of adhesive and go down for good, with a consistent overhang. Miters on corners are cut wet so the joint reads tight.
- Step 7
Backfill, plant and hand it over
Soil is brought back behind the wall, planting pockets get filled with amended soil for lavender, carex or evergreen huckleberry, and the patio joints are swept and compacted. We wash the wall down, clean adhesive squeeze-out, and walk the finished seating with you.
Most seat walls take 2 to 5 working days on their own; built into a new patio, add roughly 2 to 4 days to the patio schedule, and expect 6 to 10 days total when a fire table or lighting is integrated.
What it costs
Real installed ranges for the Puget Sound market, published so you can plan before anyone visits.
| Item | Typical range | Unit |
|---|---|---|
| Segmental block seat wall, 18 in tall with capBoth faces finished, base and caps included | $80-$150 | per linear foot |
| Natural stone veneer over reinforced CMU core | $160-$275 | per linear foot |
| Bluestone or thermal granite slab cap upgrade | $45-$90 | added per linear foot |
| Curved or serpentine wall runCovers the extra cutting and dry-fit time | $15-$35 | added per linear foot |
| Integrated gas fire table built into the wallGas line and plumbing permit priced separately | $4,500-$9,500 | each |
| Cap or wall-wash low-voltage lighting | $120-$210 | per fixture installed |
These are typical installed ranges for the Puget Sound market in 2026 and not a quote; the real figure depends on wall length, cap material, curves and access, which we settle during a site walkthrough.
Building this in the Pacific Northwest
A freestanding wall drains through its base
Nothing is holding soil back, so the risk here is not hydrostatic pressure but a saturated, poorly compacted platform that pumps and settles over a wet winter. We excavate the organics out completely and build the base from open-graded crushed rock so water passes through rather than pooling under the wall. Where a seat wall sits at the low corner of a yard, we tie the base into the patio drainage so it never sits in a puddle.
Native soil under a Puget Sound lawn is rarely ready
The top 8 to 14 inches of most South King County yards is imported topsoil or landscape fill sitting on Alderwood till. That upper layer holds water and compresses. Building a wall on it produces exactly the wavy cap line you see on ten-year-old walls around Kent and Auburn. We dig through it to competent soil and replace the difference with compacted rock, which is why the excavation line is a real cost, not padding.
Caps, adhesive and freeze cycling
Seat wall caps take the worst of the weather and the most direct contact. Rigid mortar joints hairline-crack through repeated shallow freezes and then wick water into the wall, so we bond caps with a flexible polyurethane hardscape adhesive rated for freeze-thaw instead. Concrete caps can bloom efflorescence in their first winter, which is normal salt migration and washes off; it is not a defect in the block.
Permits, setbacks and fire features
A freestanding seat wall under 4 feet needs no building permit anywhere in King County, and at 18 to 20 inches you are well clear of the threshold. Two things still matter: side-yard and shoreline setbacks in cities like Des Moines and Mercer Island, and gas. Running a natural gas line to a fire table in the wall requires a licensed plumber and a mechanical permit, which we coordinate as part of the job.
Seating Walls we have built
Seating Walls: common questions
How tall and how deep should a seating wall be?
Eighteen inches to the top of the cap is the sweet spot for adults, and 20 inches works well if the wall faces a dining table. Cap depth should be at least 12 inches so a person can actually sit square rather than balancing on an edge, and 16 to 18 inches is better if you want people to set drinks down beside them or turn sideways to talk.
How many people will a seat wall hold?
Plan on about two feet of wall per person, so a 20-foot run comfortably seats ten and a short 8-foot return handles four. In practice a seat wall absorbs the overflow at a party better than that math suggests, because people lean against it as much as they sit on it. It also means you are not storing and hauling out folding chairs every summer.
Can a seating wall also retain soil?
It can, but it becomes a different structure. Once soil bears on one face you need the drainage assembly, the buried base course and the setback batter that a retaining wall requires, and the exposed face has to be detailed to look intentional from the patio side. We build these as a hybrid all the time on split-level yards; we just price and engineer it as retaining, not as a free-standing seat wall.
Will the caps come loose over time?
Not if they are bonded properly. We use a polyurethane hardscape adhesive rated for freeze-thaw cycling rather than mortar, which stays slightly flexible and absorbs the small seasonal movement that would crack a rigid joint. The failures we get called out to fix are almost always construction adhesive from a hardware store, which goes brittle after two or three Northwest winters.
Can you add a fire pit or fire table into the wall?
Yes, and building it into the wall run rather than dropping a standalone bowl in the middle of the patio saves a surprising amount of usable space. The core gets rebar and grout, we set a rated burner pan and enclosure, and a licensed plumber pulls the gas line under permit. Wood-burning versions are simpler but need clearance from structures and overhanging vine maple or cedar.
Should the wall be built before or with the patio?
With it, essentially always. The wall base and the patio base want to be one compacted platform, and the paver layout should be planned around the wall face so you avoid a line of thin sliver cuts. Adding a seat wall to an existing patio is possible, but it means cutting into finished pavers and rebuilding a section of base, which adds cost that a coordinated build avoids.
Yard visualizer
Not sure what you want? Design it here in 30 seconds.
Upload a photo of your yard, pick a style, and see it rebuilt with the materials we actually install. Then we build it — same crew.