
Hardscaping
Paver Patios in Seattle, Kent & Greater Seattle
Quick answer
A paver patio is an interlocking concrete or stone surface set on a compacted crushed-rock base rather than a poured slab. In King County, installed cost typically runs $22 to $38 per square foot depending on the paver, base depth, and site access. Most residential patios of 300 to 700 square feet take three to six working days on site.
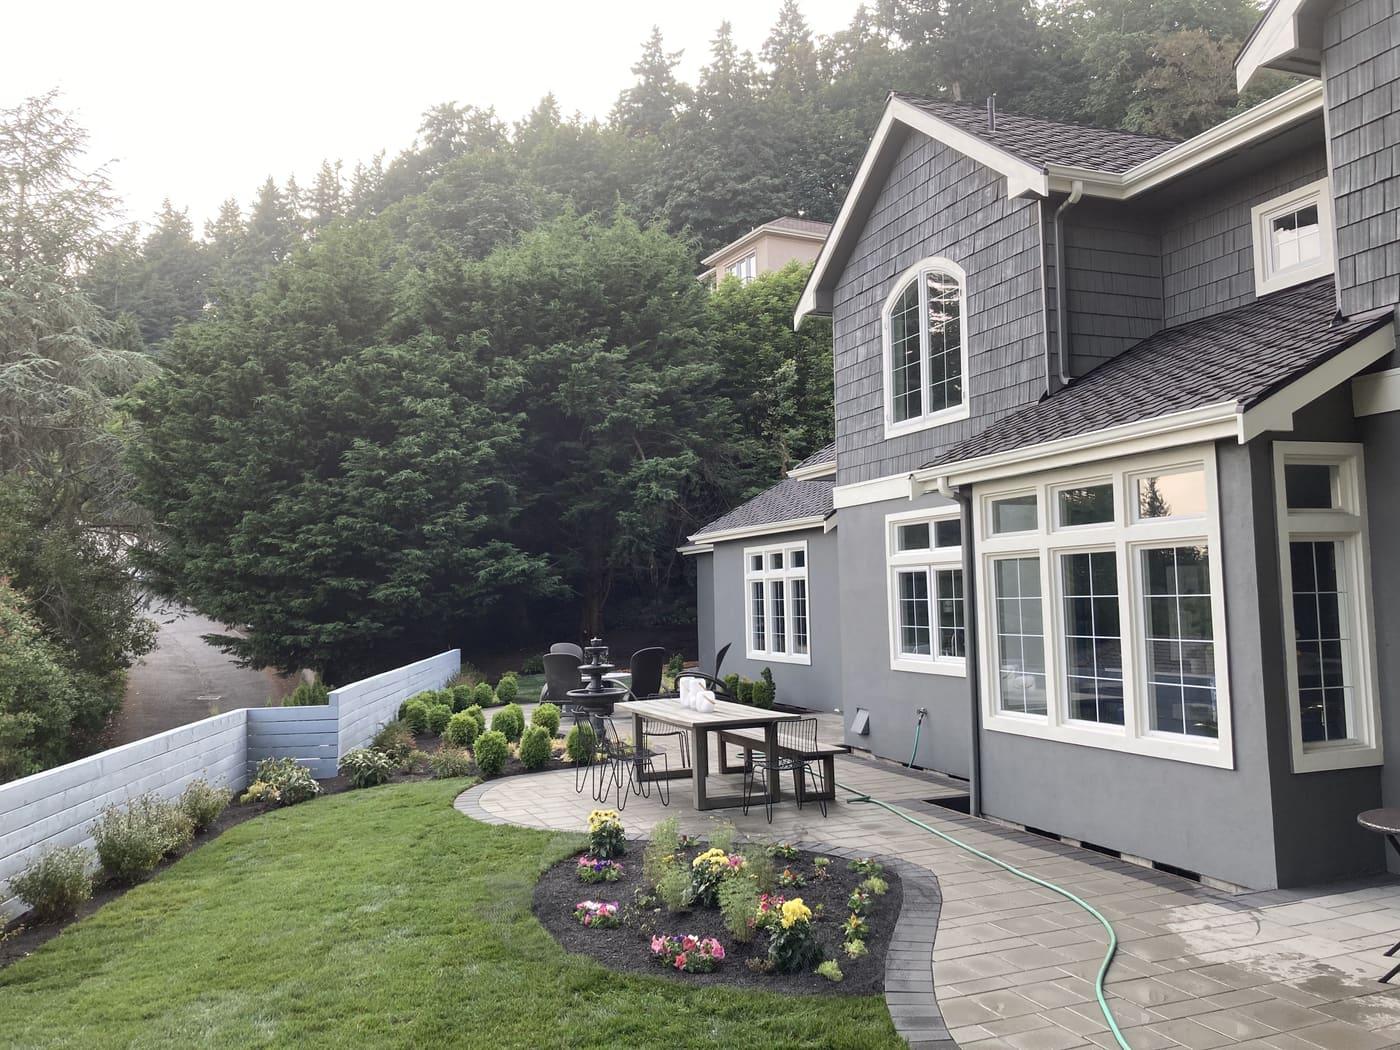
Most failed patios in South King County didn't fail at the surface. They failed six inches down. A thin base sat on undisturbed glacial till with nowhere to send water. Alderwood series soils carry a cemented hardpan layer that acts like the floor of a bathtub. So November rain collects under the pavers and softens the bedding course. By March the field has a low spot that ponds after every storm. Fixing that later means pulling the whole surface and starting over.
We start by digging down to native soil. On a residential patio that's usually 9 to 12 inches below finished grade. Deeper anywhere the subgrade pumps under a plate compactor. Woven geotextile goes between soil and rock so fines can't migrate up and contaminate the base. Then crushed 5/8-inch minus in lifts of four inches at most, each one compacted damp. We build in a steady quarter-inch-per-foot fall running away from the house. You won't feel that pitch underfoot. It's the difference between a dry patio and a mossy one.
We draw the layout at our Kent shop, and the crew that draws it is the crew that sets the stone. That matters on the small stuff. How the soldier course meets a door threshold. Where the drain line daylights, which has to be past the property corner and not into the neighbor grade. If we pull the sod and something on the plan turns out wrong, you get an answer that morning.
What’s included
- Site layout with grade shots and a Washington 811 utility locate before anything is dug
- Excavation to native subgrade, typically 9 to 12 inches below finish grade, with spoils hauled off
- Woven geotextile separation fabric over till, clay, and silt subgrades
- Crushed 5/8-inch minus base placed in 3 to 4 inch lifts and plate-compacted at each lift
- One-inch screeded bedding course of clean angular chip, never rounded mason sand
- Paver field laid to the chosen pattern with wet-saw cuts at all edges and obstructions
- Concrete toe or heavy PVC edge restraint spiked at 10 to 12 inches on center
- Polymeric sand swept, watered in per manufacturer instructions, and re-topped after it sets
- Surface drainage tie-in: channel drain, catch basin, or solid pipe carried to daylight
Materials we use
- Mutual Materials Holland, Dublin Cobble, and Roman Paver units in Seattle-stocked colors
- Belgard Cambridge Cobble and Mega-Arbel slabs
- Techo-Bloc Blu 60 and Aberdeen for large-format modern fields
- Basalite Nantucket and Cobblestone pavers
- Crushed 5/8-inch minus base rock from Maple Valley and Auburn pits
- Mirafi woven geotextile for subgrade separation
- Techniseal HP NextGel or Alliance polymeric jointing sand
- NDS channel drain and catch basin components with 4-inch solid SDR-35 outfall pipe
How the build runs
- Step 1
Site walk and in-house design
We measure the yard and shoot grades off the door threshold and the low corner. We find out where water goes now. You get back a layout with real dimensions and a paver and pattern picked out. The scope names the base depth we intend to build.
- Step 2
Locates, layout, and protection
Public utilities get located through Washington 811. Private lines we trace separately. The crew paints the footprint on the ground so you can walk it at full size. Then plywood runs and plastic go down to keep the lawn and siding intact.
- Step 3
Excavation and subgrade proof
Sod and topsoil come off down to native. Then we walk the exposed subgrade behind the compactor, looking for soft spots that rebound or pump water. Anything that moves gets over-excavated and replaced with structural rock. We don't go further until it holds.
- Step 4
Base build and compaction
Geotextile goes down, then crushed rock in thin lifts. Each lift gets watered and run with a reversible plate until the machine stops sinking and starts riding. We check grade with a laser at every lift. The pitch is built into the base that way. You can't fake it later in the sand.
- Step 5
Screed and set
One inch of angular chip, screeded off rails. We never thicken it up to hide a bad base. Pavers get set off a string line, starting at the most visible edge and working out. We pull from three pallets at once so color variation blends across the field instead of banding.
- Step 6
Cuts, restraint, and jointing
Perimeter cuts get made on a wet saw. We don't split them. Edge restraint locks the field. Polymeric sand is swept and vibrated in, then activated with a light rain-setting pass. We come back and top off any joints that drop after the first cure.
- Step 7
Cleanup and walkthrough
Beds get restored and the driveway is blown and washed. Then we walk the finished patio with you. Look down the surface at a low angle and every high point shows. Anything that reads wrong gets lifted and reset before we load out.
Most residential patios between 300 and 700 square feet run three to six working days on site, plus a day or two when there are heavy cuts, a seat wall, or a subgrade that has to be over-excavated and replaced.
What it costs
Real installed ranges for the Puget Sound market, published so you can plan before anyone visits.
| Item | Typical range | Unit |
|---|---|---|
| Standard concrete paver patio, running bond or herringbone | $22-$30 | per sq ft |
| Premium or large-format paver patioTecho-Bloc and Belgard slab lines, tighter tolerances and more cutting. | $30-$45 | per sq ft |
| Dry-set natural flagstone patio | $38-$60 | per sq ft |
| Over-excavation and structural fill on a soft subgradeDigging, haul-off, and imported rock combined. | $60-$95 | per cubic yard |
| Paver seat wall integrated into the patio edge | $65-$110 | per linear ft |
| Channel drain with piped outfall to daylight | $45-$85 | per linear ft |
These are typical installed ranges for the Puget Sound market and include labor, base, and materials; the number that ends up on your proposal comes from a site walkthrough where we can see access, grade, and what the subgrade is actually made of. Bids around $15 a square foot exist here and they are usually the same pavers over four inches of base instead of eight to twelve, laid on fabric-free subgrade. On Alderwood till that is the difference between a flat patio and a wavy one by the third winter.
Building this in the Pacific Northwest
Water has to leave the patio, not just soak through it
Kent valley floors take roughly 38 to 45 inches of rain a year. The foothill edge toward Maple Valley and Issaquah can see four to six feet. Paver joints are not a drainage plan. The base needs positive pitch to a real outlet. Downspouts get piped under the field instead of dumping onto it. And any patio tucked against a walkout basement gets a channel drain across the low side.
Alderwood till reads solid and drains like a countertop
The dense till under much of Kent, Covington, and Renton feels like a great subgrade in August. In January it turns to grease. Water perches on the hardpan instead of percolating away. Separation fabric keeps the base clean. Thin compacted lifts keep it stiff. On the worst sites we run a perforated edge drain in washed rock at the downhill side of the base, so the rock section can shed water instead of storing it.
Our freeze-thaw is shallow, frequent, and hard on wet base
The lowlands here rarely get a deep frost. What we get is dozens of crossings past freezing between November and February. A saturated base that cycles that often will heave and relax over and over. That's what makes a patio go wavy in its second or third winter. Locally, compaction and drainage matter far more than frost depth does. Segmental pavers also flex with that movement. A monolithic slab cracks instead.
Permits and impervious surface accounting
Kent and most King County jurisdictions treat an at-grade patio as exempt from a building permit. A deck-height or elevated patio changes that. Drainage review is a separate question. Adding on the order of 2,000 square feet of new plus replaced hard surface is where the King County Surface Water Design Manual pulls a project into full review, and most cities here run an adopted version of it. Critical area, wetland buffer, and steep-slope setbacks override all of it. We check those before we design anything.
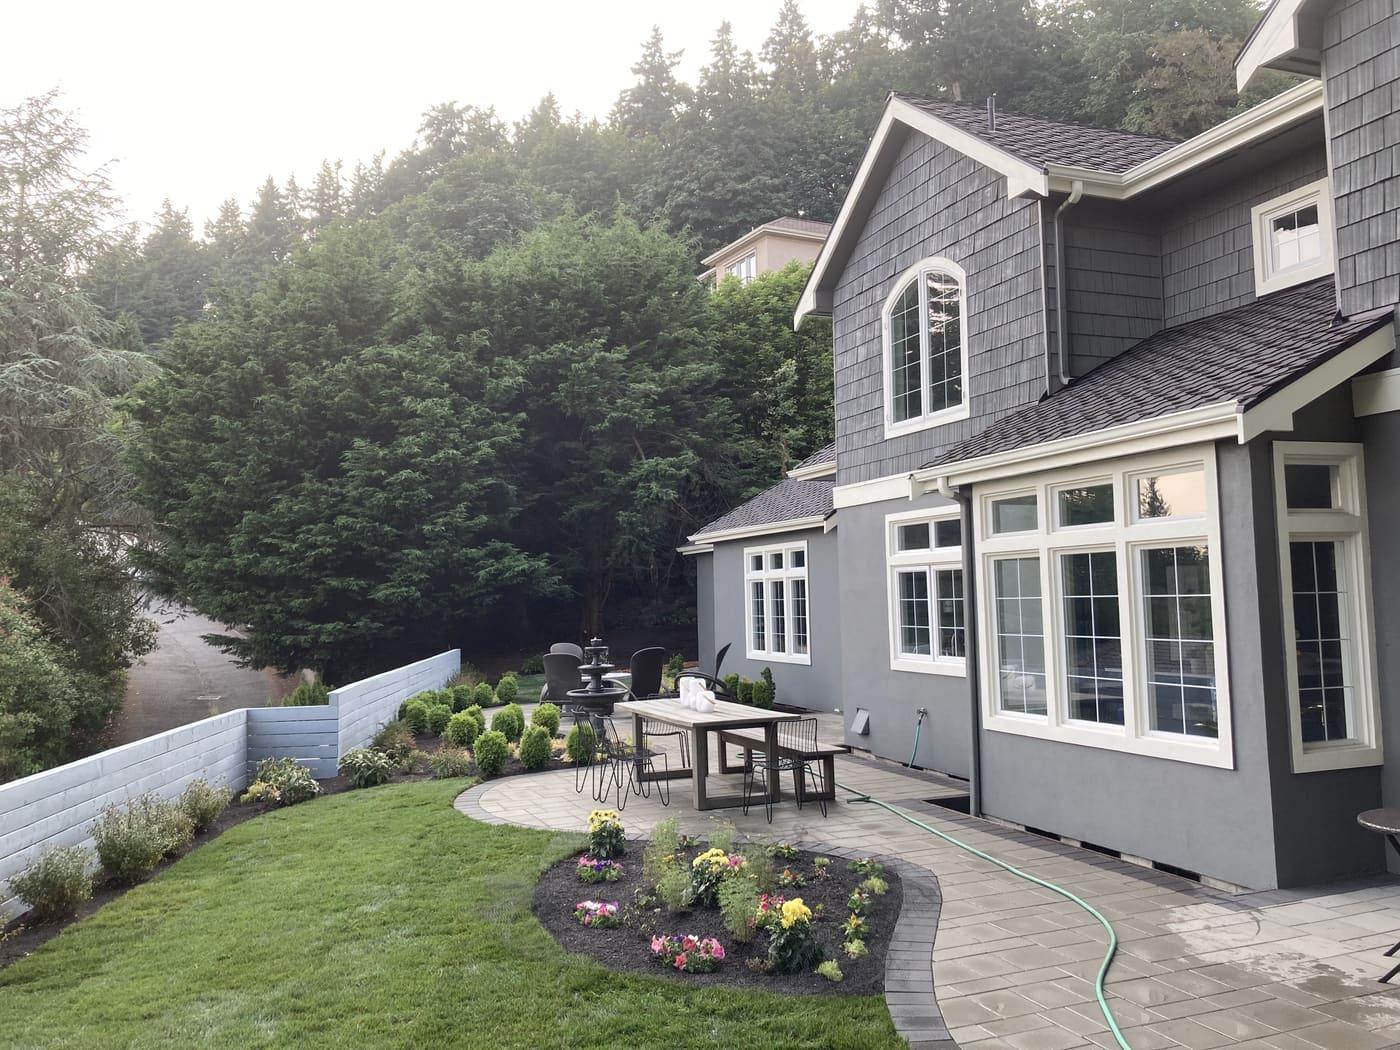
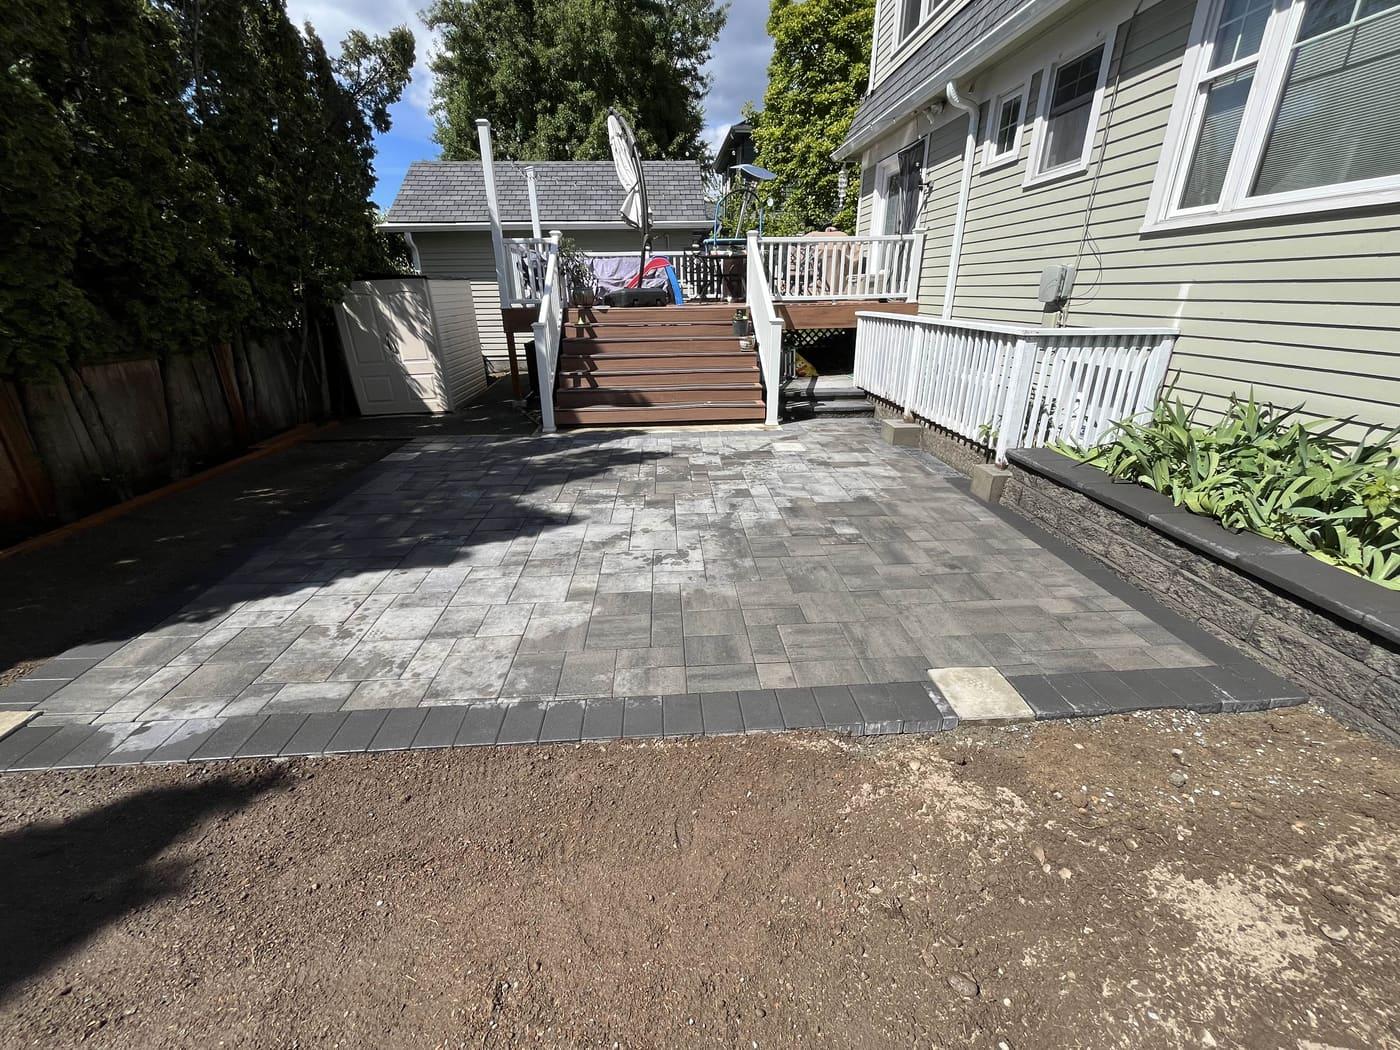
Paver Patios we have built
Recent paver patios projects
Paver Patios: common questions
Will a paver patio sink or heave through our winters?
Not if the base is right. Settlement almost always traces back to thin rock, lifts placed too deep to compact, or a subgrade nobody ever proofed. A properly built 9 to 12 inch compacted section on separation fabric, pitched to a real outlet, holds its shape. And if a corner ever does move, we lift that section, correct the base, and reset the same units.
How do I compare two patio bids that are thousands apart?
Ignore the totals for a minute. Ask both contractors the same four questions. How many inches of compacted base. In how many lifts. Is there separation fabric under it. Where does the water go. A bid that says nine to twelve inches on fabric with a pitched outlet is doing different work than a bid that says four inches on native soil. The price gap is that difference. It is not a discount. Get the answers in writing on the proposal. Anyone who won't put base depth on paper is telling you something.
Pavers or a poured concrete slab?
Concrete is cheaper up front and it will crack. In this climate the only question is where and when. Pavers cost more to start. They flex with seasonal movement, and you can open them up to run a gas line or fix a drain without a saw and a jackhammer. Concrete makes sense for large plain surfaces on stable ground. Anything shaped, sloped, or likely to get modified later, pavers age better.
Do I need a permit for a patio in Kent?
An at-grade patio generally doesn't need a building permit in Kent or the surrounding South King County cities. What can trigger review is total impervious surface, work inside a critical area or wetland buffer, retaining any grade over four feet, or a patio raised high enough to count as a deck. We confirm the specific thresholds with your jurisdiction before we finalize a layout.
How much slope do you build in, and will I feel it?
Standard is a quarter inch of fall per foot, running away from the house toward a planting bed, the lawn, or a drain. Across a 16 foot patio that's four inches total. Nobody notices it underfoot and furniture doesn't wobble on it. Go flatter than an eighth inch per foot and water starts standing. Especially once the surface picks up a little moss texture.
What keeps moss and weeds out of the joints?
Polymeric sand, activated properly, is most of the answer. It sets up firm and gives seeds nothing to root in. What actually causes joint growth here is organic debris. Fir needles, maple leaves, and moss spores compost in the joint over a wet winter. Blow the surface a few times each fall, wash it in spring, and keep overhanging limbs trimmed back. Re-sanding every five to eight years is normal.
Can you build a patio in the winter?
Yes, we do winter work. It depends on the site. Compaction needs moisture control, and a fully saturated subgrade won't proof out no matter how many passes we make. On well-draining sites winter is fine and the schedule is easier. On heavy till with standing water we'd rather wait for a dry stretch than bury a bad base under good pavers.
Yard visualizer
Not sure what you want? Design it here in 30 seconds.
Upload a photo of your yard, pick a style, and see it rebuilt with the materials we actually install. Then we build it — same crew.